How to add and manage time
Add a time entry
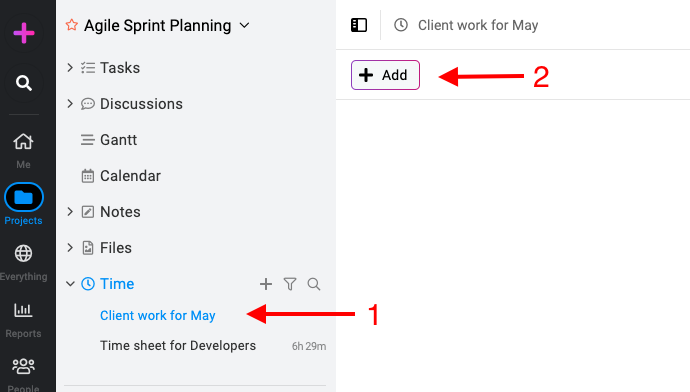
- Select a timesheet: Open the timesheet where you would like to add the time.
- Add time: Click on the “Add” button.
- Enter time details:
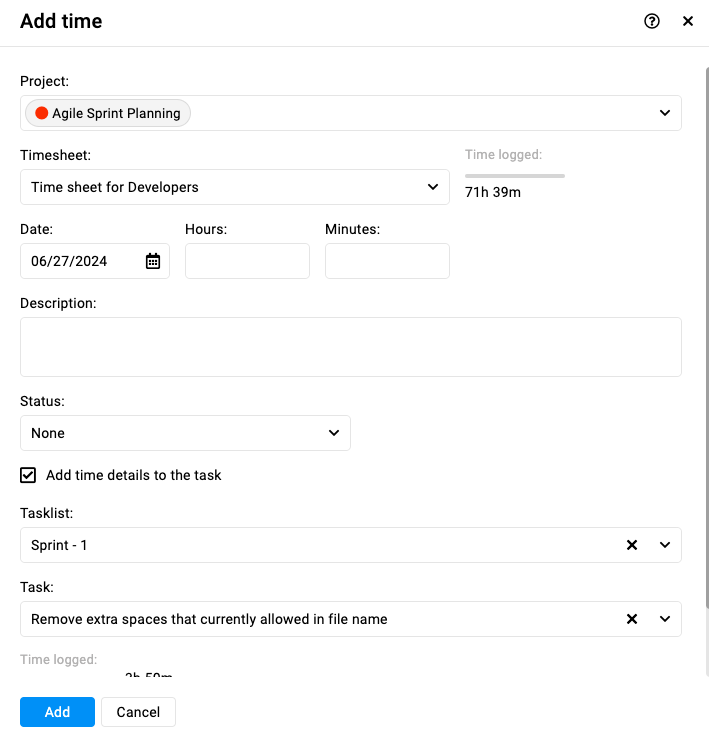
- Hours: Enter the hours and minutes in the designated column.
- Description: Enter the description in the description field.
- Status: You can define a status for your time entry for example billed, billable, non-billable, void, or none.
- Associate a task: If the time entry is directly related to a specific task, enable the “Add Time Details to Task” option, then select the appropriate “Tasklist” and ‘Task.“
- Save time: Click the “Add” button to save your time.
Note: For more on how to log time over a task click here.
Edit a time entry
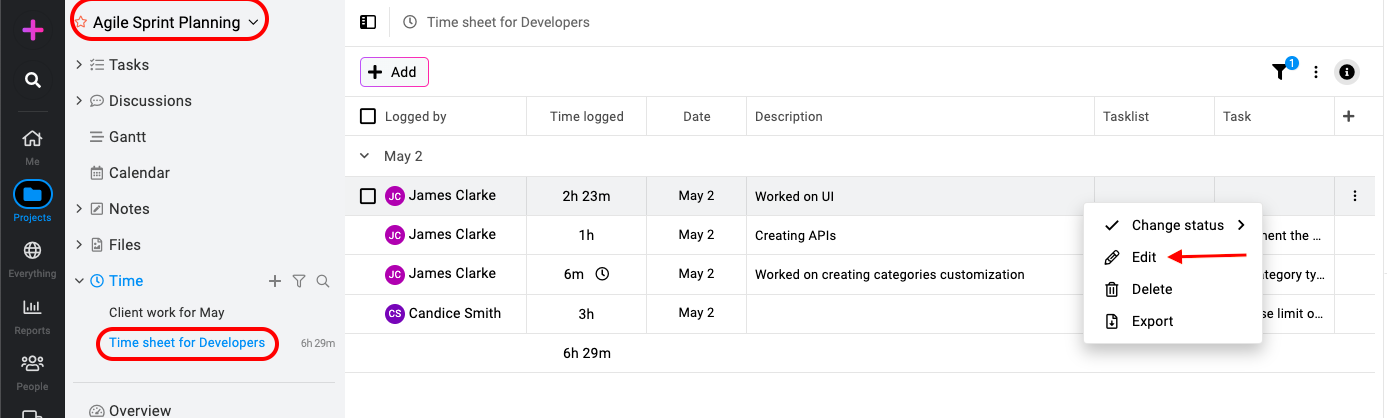
- Select the time entry: Click on the three dots icon or right-click on the time entry and select “Edit“.
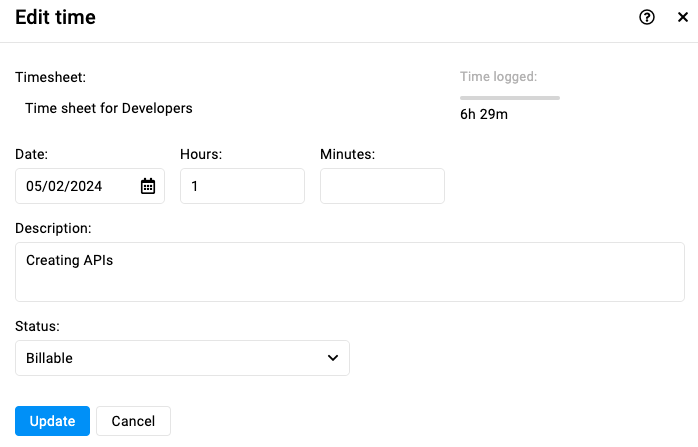
- Edit the details: Modify the time details you would like to edit and select “Update” to confirm the changes.
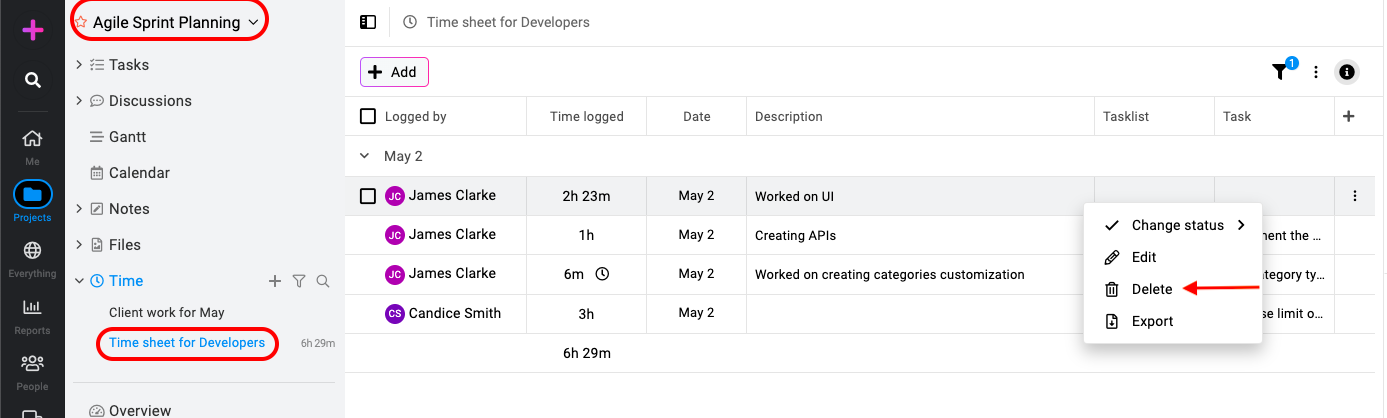
Delete a time entry
- Select the time entry: Click on the three dots icon or right-click on the time entry and select “Delete“.
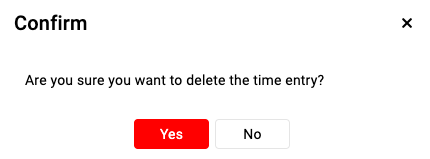
- Confirm deletion: Select “Yes” within this confirmation window to proceed with deleting the time entry.
Note: ProofHub keeps items in the “Trash” for 15 days. Restore them easily by going to Trash. For detailed instructions on restoring deleted items from the trash, please refer to Trash.
Sort and filter time entries
The sort and filter options enable users to effortlessly organize and access time entries based on various parameters, facilitating streamlined time tracking and performance analysis.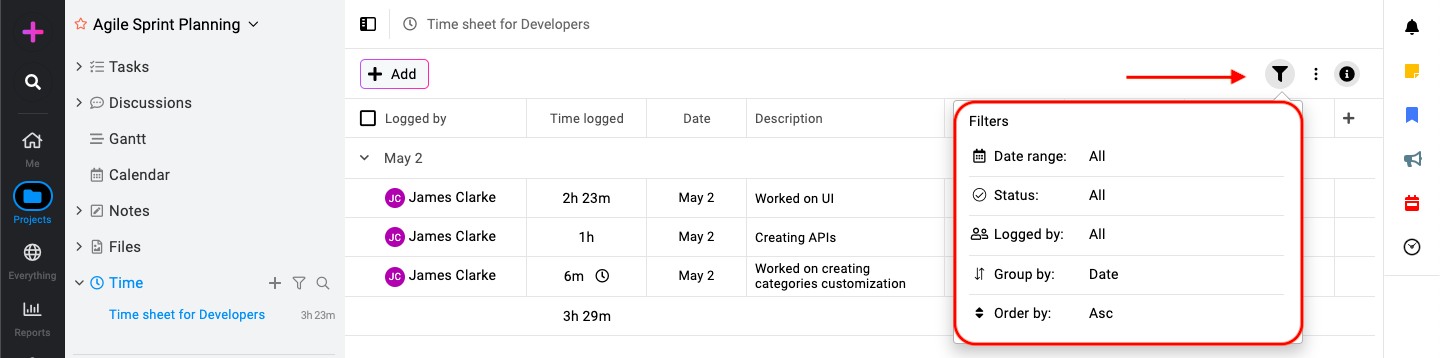
- Date range: By default, the “All” option is selected. You can select different date ranges to view data from different time ranges.
- Status: All the time entries are available to view, you can use the filter to view time entries by different statuses like billable, billed, or non-billable.
- Logged by: You can use the logged by filter to view logged time entries by users.
- Group by: Time entries can be grouped by date, month, person, tasklist.
- Order by: Choose between “Asc” (ascending) and “Desc” (descending) to arrange your time entries by the date logged.
Timer
In ProofHub, a timer is a tool that enables users to track the duration spent on specific tasks or projects. It allows you to start, pause, resume, and stop timing activities, providing accurate records of time spent for better project management and billing purposes.
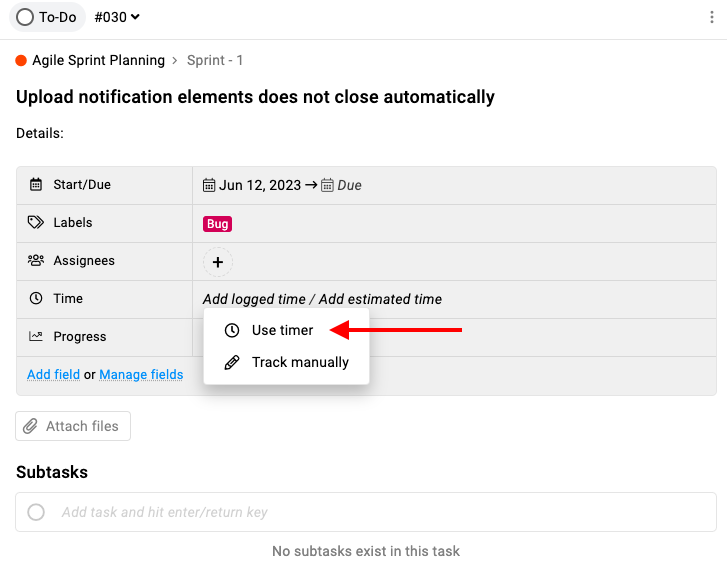
- Timer from task: Click on “Add logged time”, and select “Use timer”.
- Once the timer has started, it will appear in the respective task and also in the multiple-timer window.
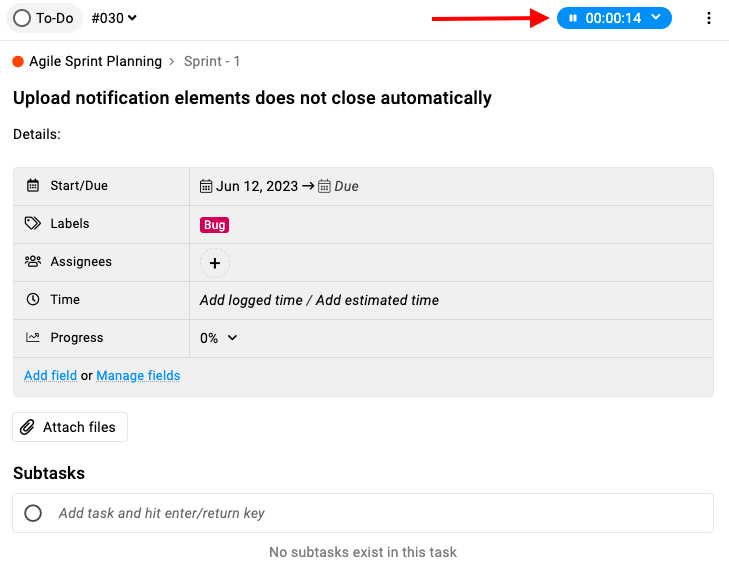
- In case a new timer is started then the existing running timer will be paused.
- To save the time tracked by a running or paused timer, you need to hover over it in the task window and click on “Save time”.
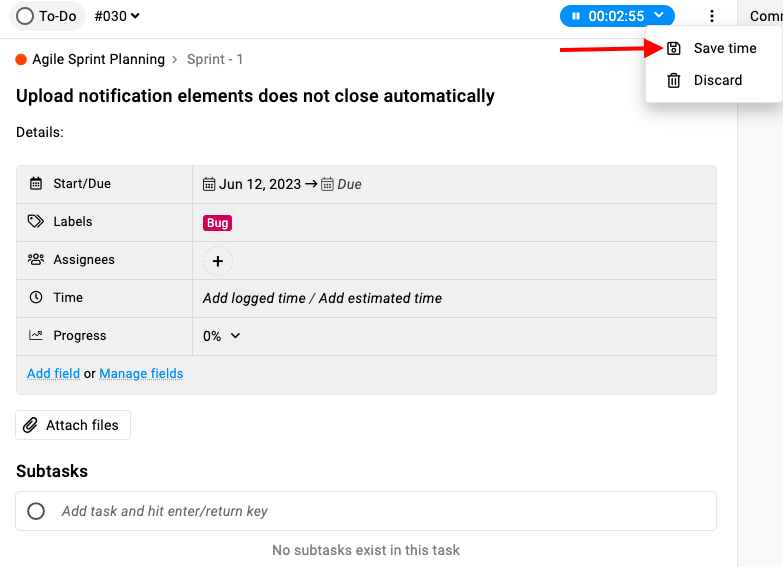
- Add time: A window will open in which you can add all necessary details like timesheet, description, status, tasklist, and task.

View all paused, running, and global timers
- View all paused and running timers:
Click on the clock icon on the right-side menu.
When you access the list of timers, you’ll find both running timers and those on hold. It allows you to easily resume your work or restart a timer from the paused ones.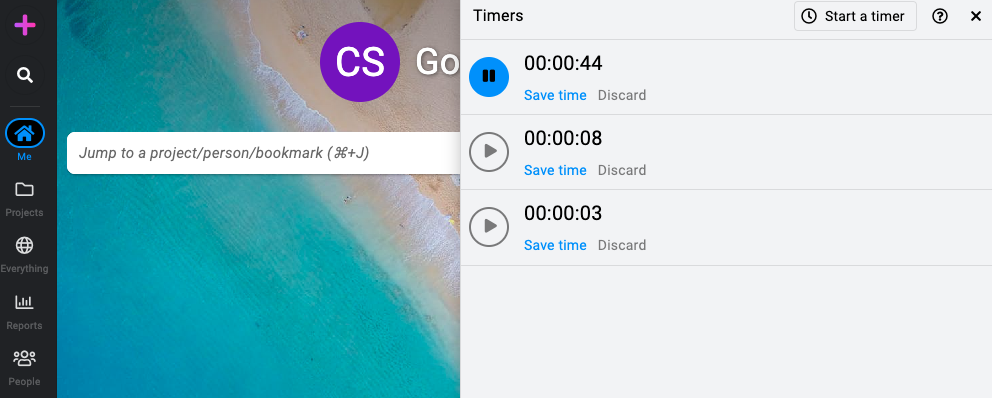
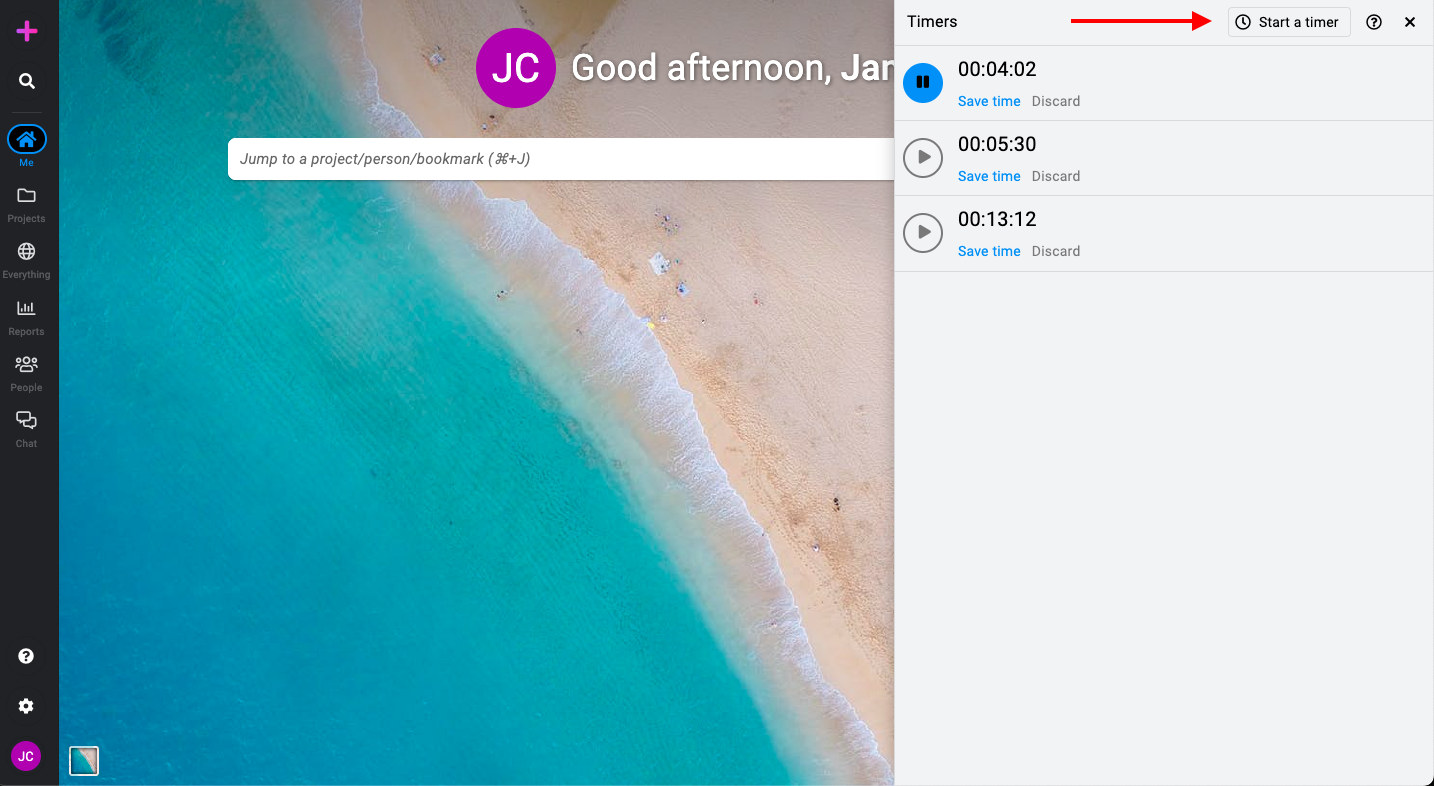
- Starting the timer quickly: using the global timer
ProofHub empowers you to begin tracking your time efficiently without navigating through projects and tasks. Here’s how to utilize the global timer option:- Access the global timer: A clock icon on the right-side menu represents this option.
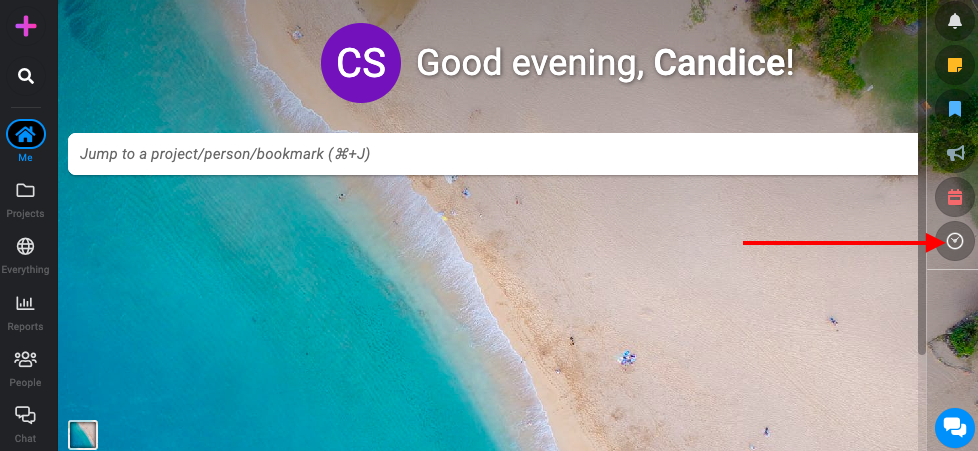
- Start tracking time: Click on the global timer and select “Start a timer”. Your timer will begin running, logging the duration of your work.
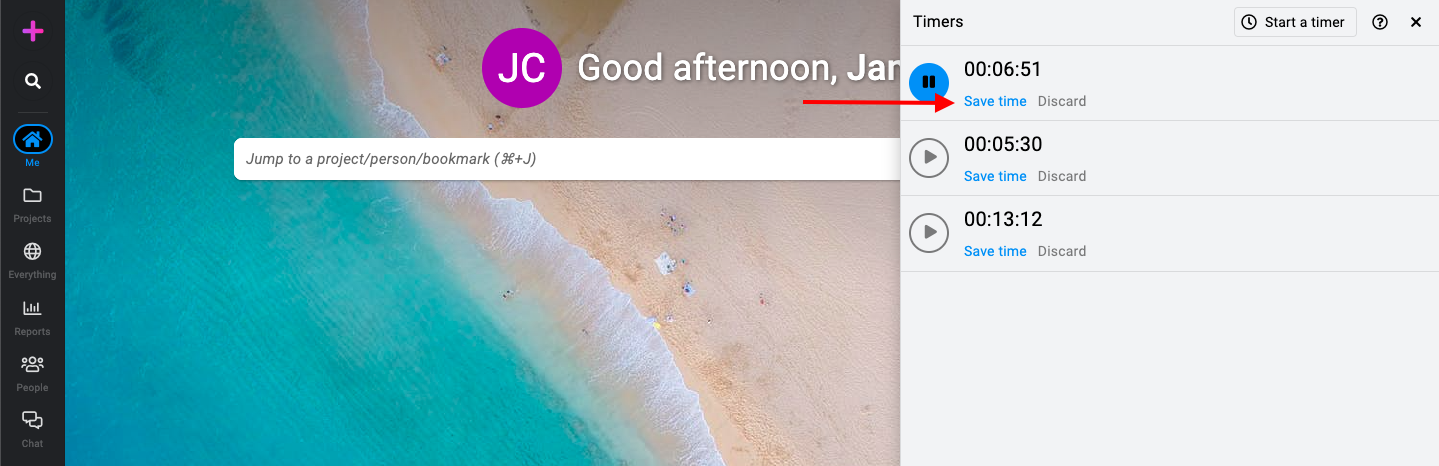
- Stop and save time: Once you’ve completed your work, click the “Save Time” button to stop the timer and record the logged duration.
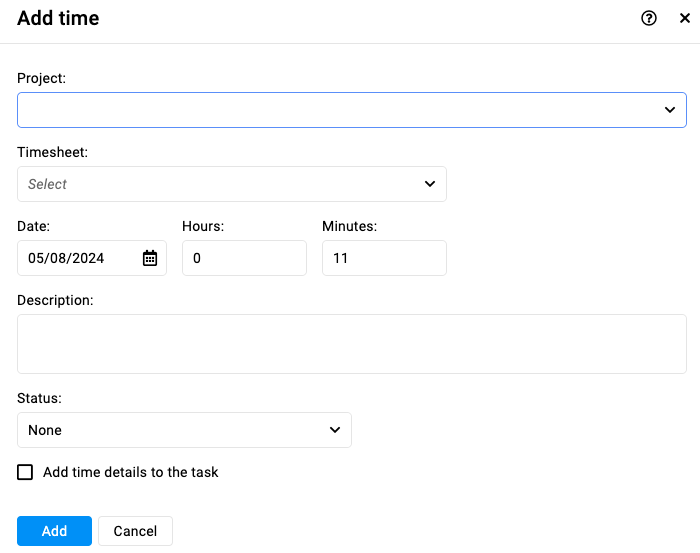
- Add details: After saving your time entry, a window will appear where you can allocate the logged time to a specific project, timesheet. You can also add a description, set the status, and assign it to an individual task within the project
- Access the global timer: A clock icon on the right-side menu represents this option.
- Note:
- With each timer, you’ll get information about the item(s) on which it is running.
- On hovering over a timer, you’ll get the “Save time” option, which you can click to save the time tracked in a timesheet.
- If a timer is started through the task itself, then only the task information will be seen on the timer.
Need more help?
- Can't find the answer to your questions? Contact ProofHub Support
- You can also book a demo.