How to add and manage projects
Add a project
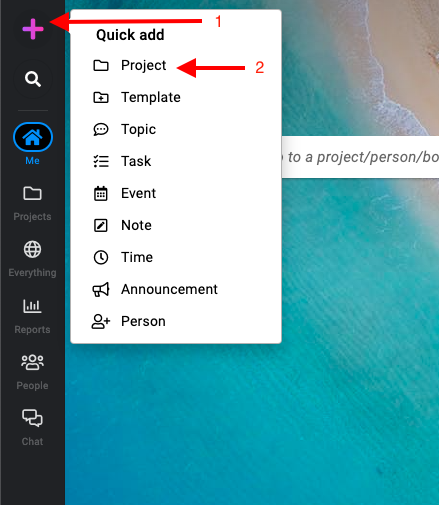
- Access the “Quick add” menu: Click on the “+” icon located in the top left side to open the quick add menu and select “Project”.
- Enter the project details:
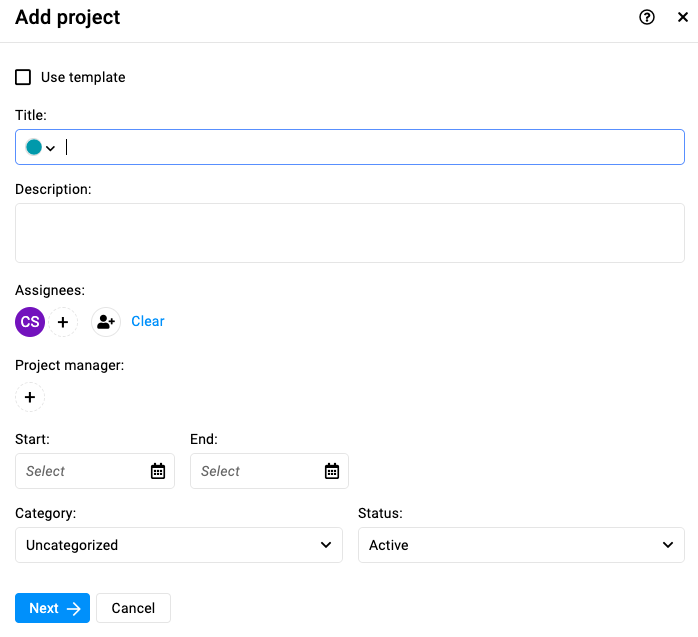
- Project from a template: Check the “Use template” box to create a project using a template. It saves time, especially for projects with similar structures. For more on templates click here.
- Color: By setting a color for your project, you can utilize the color filter to conveniently sort and organize your projects based on color categories.
- Add the title and the description.
- Assignees: People who should be part of the project.
- Project manager: Select the project manager from the list of assignees assigned to the project. The project Manager is responsible for coordinating all aspects of a project, including planning, execution, and team collaboration, to ensure successful completion within defined timelines and objectives.
- Select the start date and end date of the project.
- Project category: Categories can be used to group multiple projects under one heading, making it simpler to search for projects and generate reports by filtering projects based on their category.
- Project status: It refers to the current stage or condition of a project, such as active, completed, on hold, archived, or any other custom status defined by you to reflect the project’s progress and status in its life cycle.
- Click “Next” to save the project details.
- Select the project tabs:
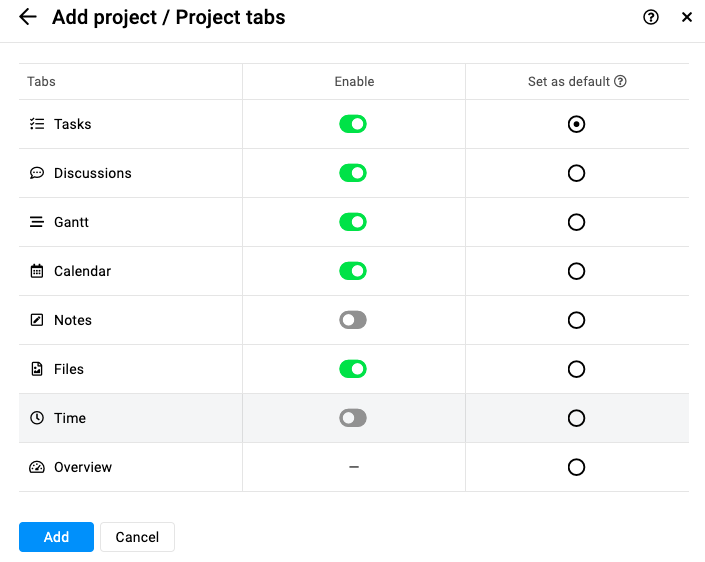
- Enable/disable the tabs: Project tabs refer to the different sections or areas within a project. You have the option to make specific tabs visible or hidden based on your preferences.
- Set a tab as default: Setting a tab as default means that when you open a project, it will automatically navigate to the tab you have selected as the default. If no other tab is chosen, the “Tasks” tab will be set as the default.
- Save the project: After entering all the details and selecting the tabs required for the project, click the “Add” button to save your project.
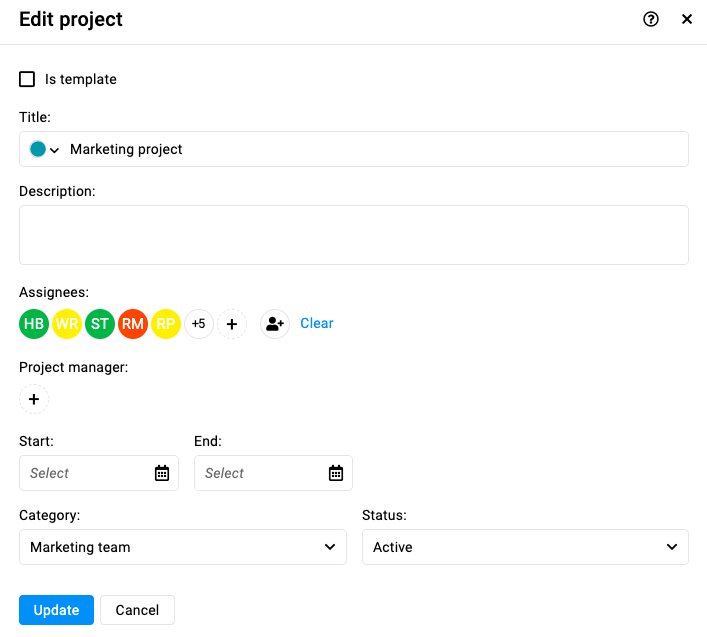
Edit a project
- Hover over the project name: The gear icon will be visible, click on it and select “Edit” from the context menu.
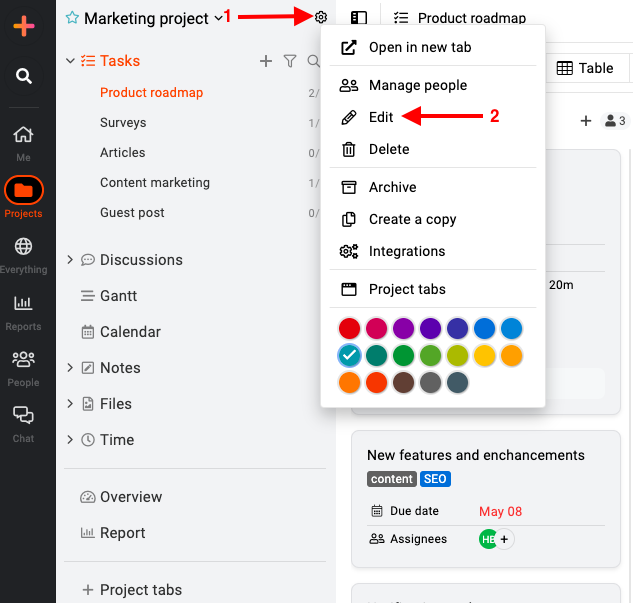
- Edit project details: In the project settings menu, you’ll find options to edit various details about the project. This may include the project title, description, category, status, and other project-specific settings.
- Click “Update” to save the changes.
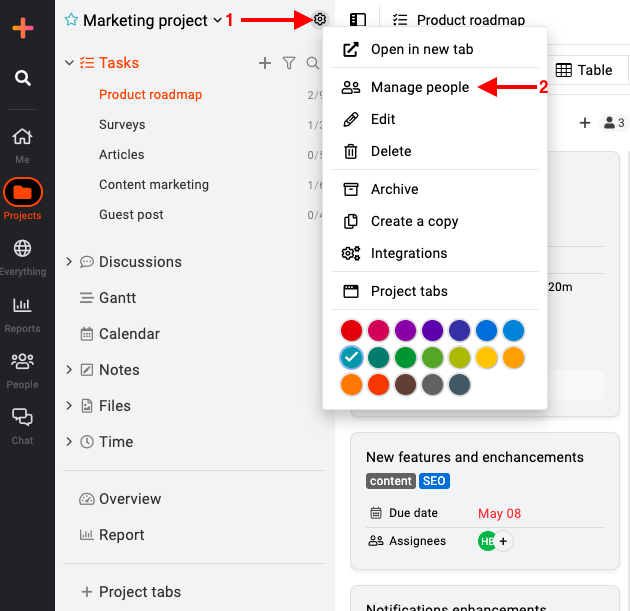
Manage people on a project
- Hover over the project name: The gear icon will be visible, click on it and select “Manage people” from the context menu.
- Remove or add people:
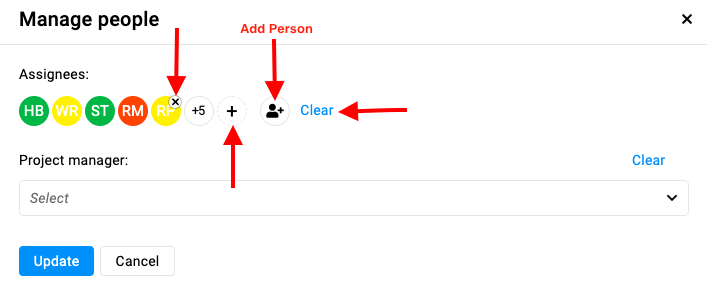
- You can remove the existing person by clicking on the “x” next to their name.
- You can remove all the people from the project by clicking on “clear”.
- You can add a new person to the existing project by clicking on the “+” icon.
- You can add or invite people to the ProofHub account directly from the project by clicking on the “Add Person” icon.
- Note: Select the project manager from the list of assignees assigned to the project.
For more on managing people in your account, click here.
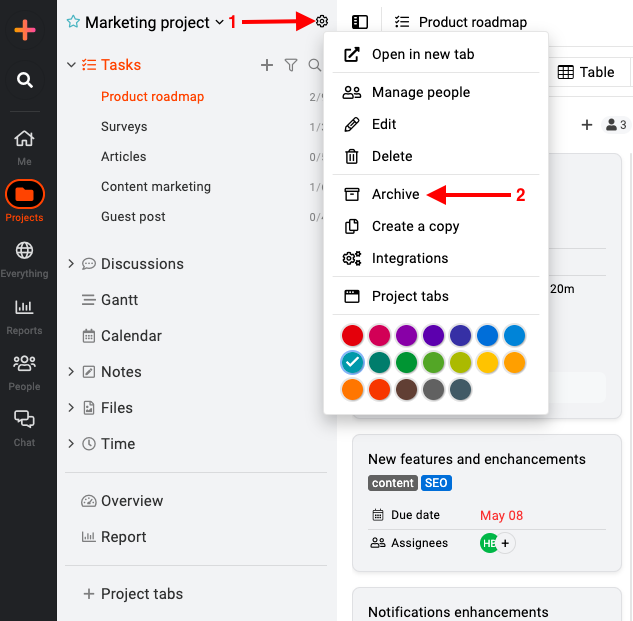
Archive a project
- Hover over the project name: The gear icon will be visible, click on it and select “Archive” from the context menu.
- Select “Yes” within this confirmation window to proceed with archiving the project.
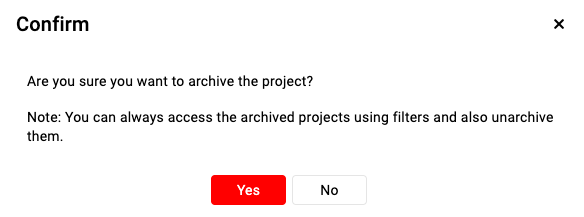
Note: You can unarchive the projects from the project section on the left side menu using the “Status” filters at top.
Delete a project
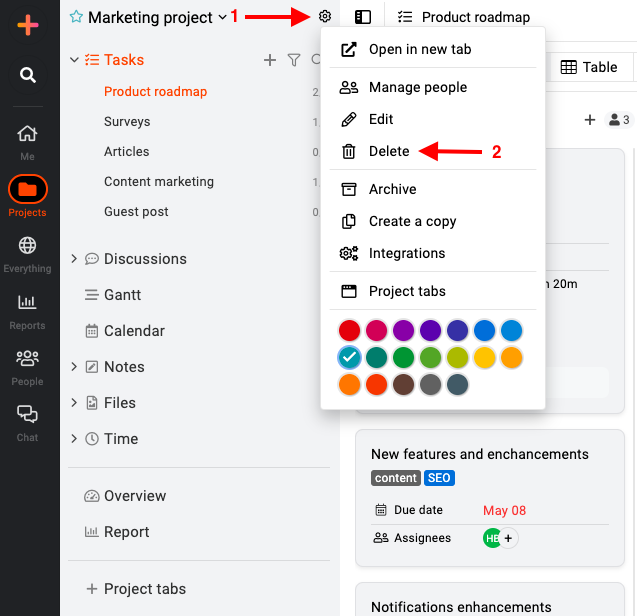
- Hover over the project name: The gear icon will be visible, click on it and select “Delete” from the context menu.
- Select “Yes” within this confirmation window to proceed with deleting the project.
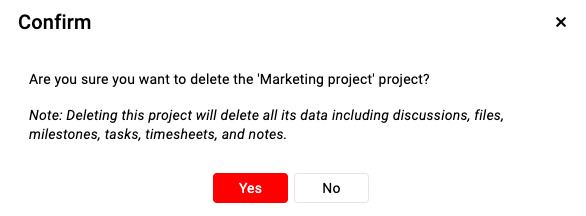
Note: For detailed instructions on restoring deleted items from the trash, please refer to Trash.
Add and manage project categories
Project categories in ProofHub help you organize and group projects effectively, making it easier to manage and locate related projects. You can assign categories or create new categories while creating projects. “Uncategorized” is the default category. For more on project categories click here.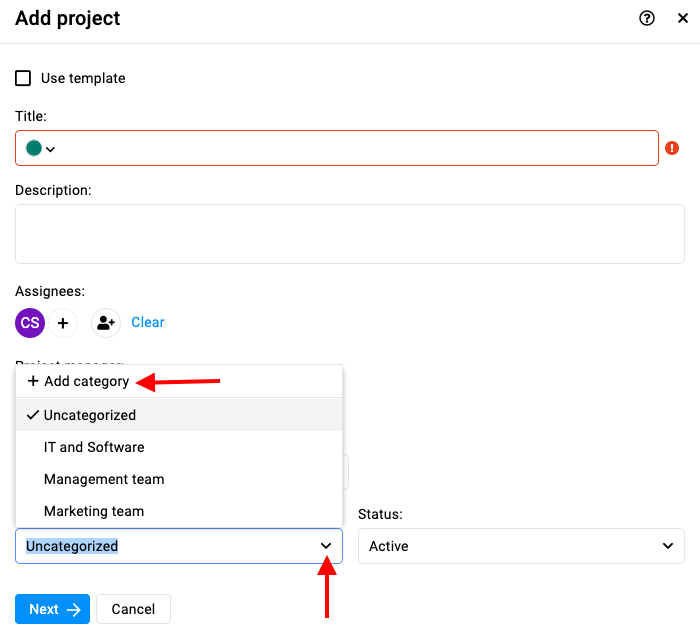
Add and manage project statuses
Project statuses in ProofHub help you track the progress and current state of your projects. You can assign and create a new project status while creating a project. For more on project status click here.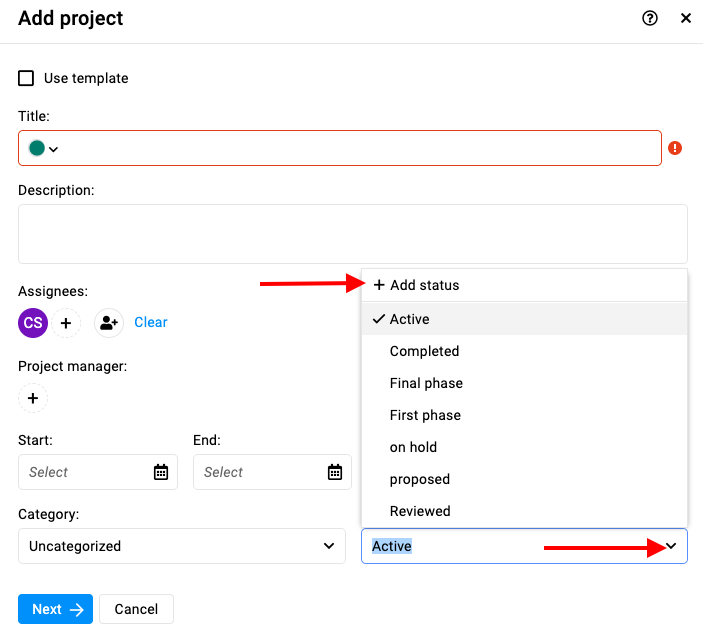
Need more help?
- Can't find the answer to your questions? Contact ProofHub Support
- You can also book a demo.