Manage labels

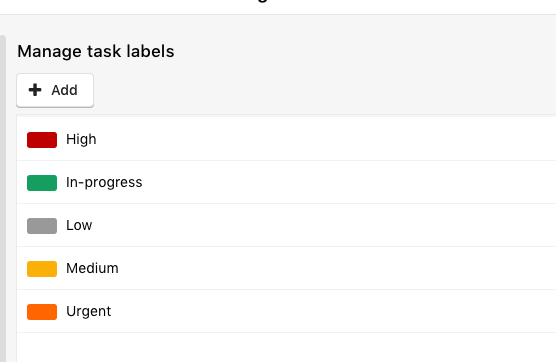
With this option, you can add new labels, edit and delete existing labels. In ProofHub, you can have labels that are specific only to a project and labels that are global for all the projects. 

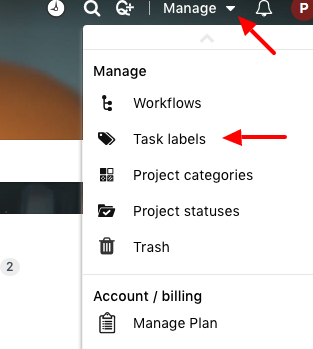
Following are the steps to access the manage labels option:
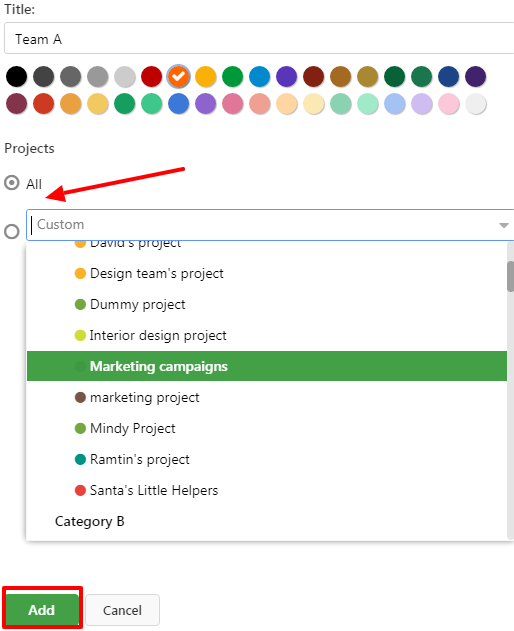
  1. Click on the Manage dropdown.
  2. Select Task labels option
    1
  3. Manage task labels window will open.
    2

Add a new label:

Following are the steps to add new labels:

  1. Click on the +Add button.
    Project based labels
  2. Add task label window will open from the right side.
  3. Enter the title of the label and choose its color.
  4. You can select if you want to keep the label private to just a few projects or you want to use it globally.
  5. Click on Add to save the label.

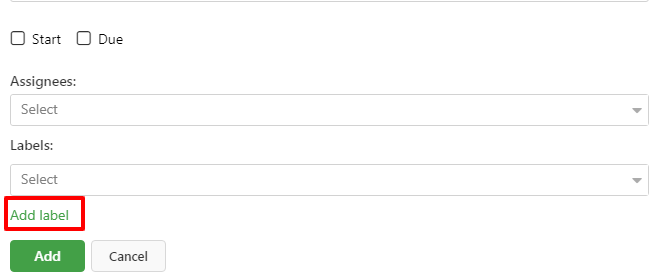
Additionally, you can also add labels while adding tasks.
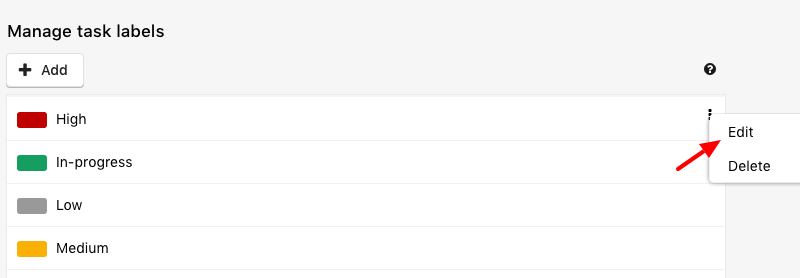
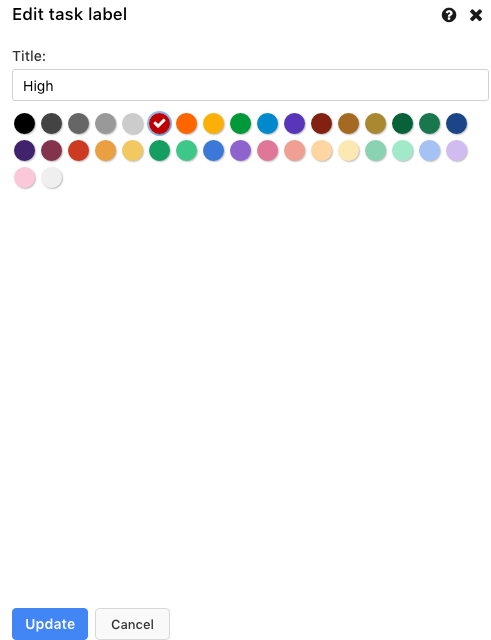
Alternative add label

Edit a label:

Following are the steps to edit a label:
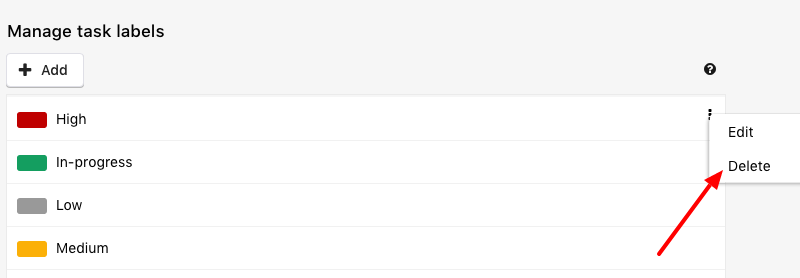
  1. Click on the context menu icon of the label to be edited.
  2. Select the Edit option from the context menu.
    5
  3. Edit task label window will open from the right side.
  4. Click on Update to save the changes.
    6

Delete a label:

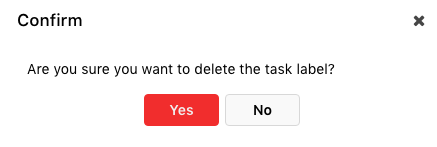
Following are the steps to delete a label:

  1. Click on the context menu icon of the label to be deleted.
  2. Select the Delete option from the context menu.
    7

A confirm pop-up will appear in which you can click on Yes to confirm the label’s deletion.
8

Need more help?

- Can't find the answer to your questions? Contact ProofHub Support
- Check our blog for the latest additions, updates and tips.