Project Statuses
Use Project statuses to define the current state of your Projects. With ProofHub mobile, you can create custom statuses and assign them to your projects.
Add project status
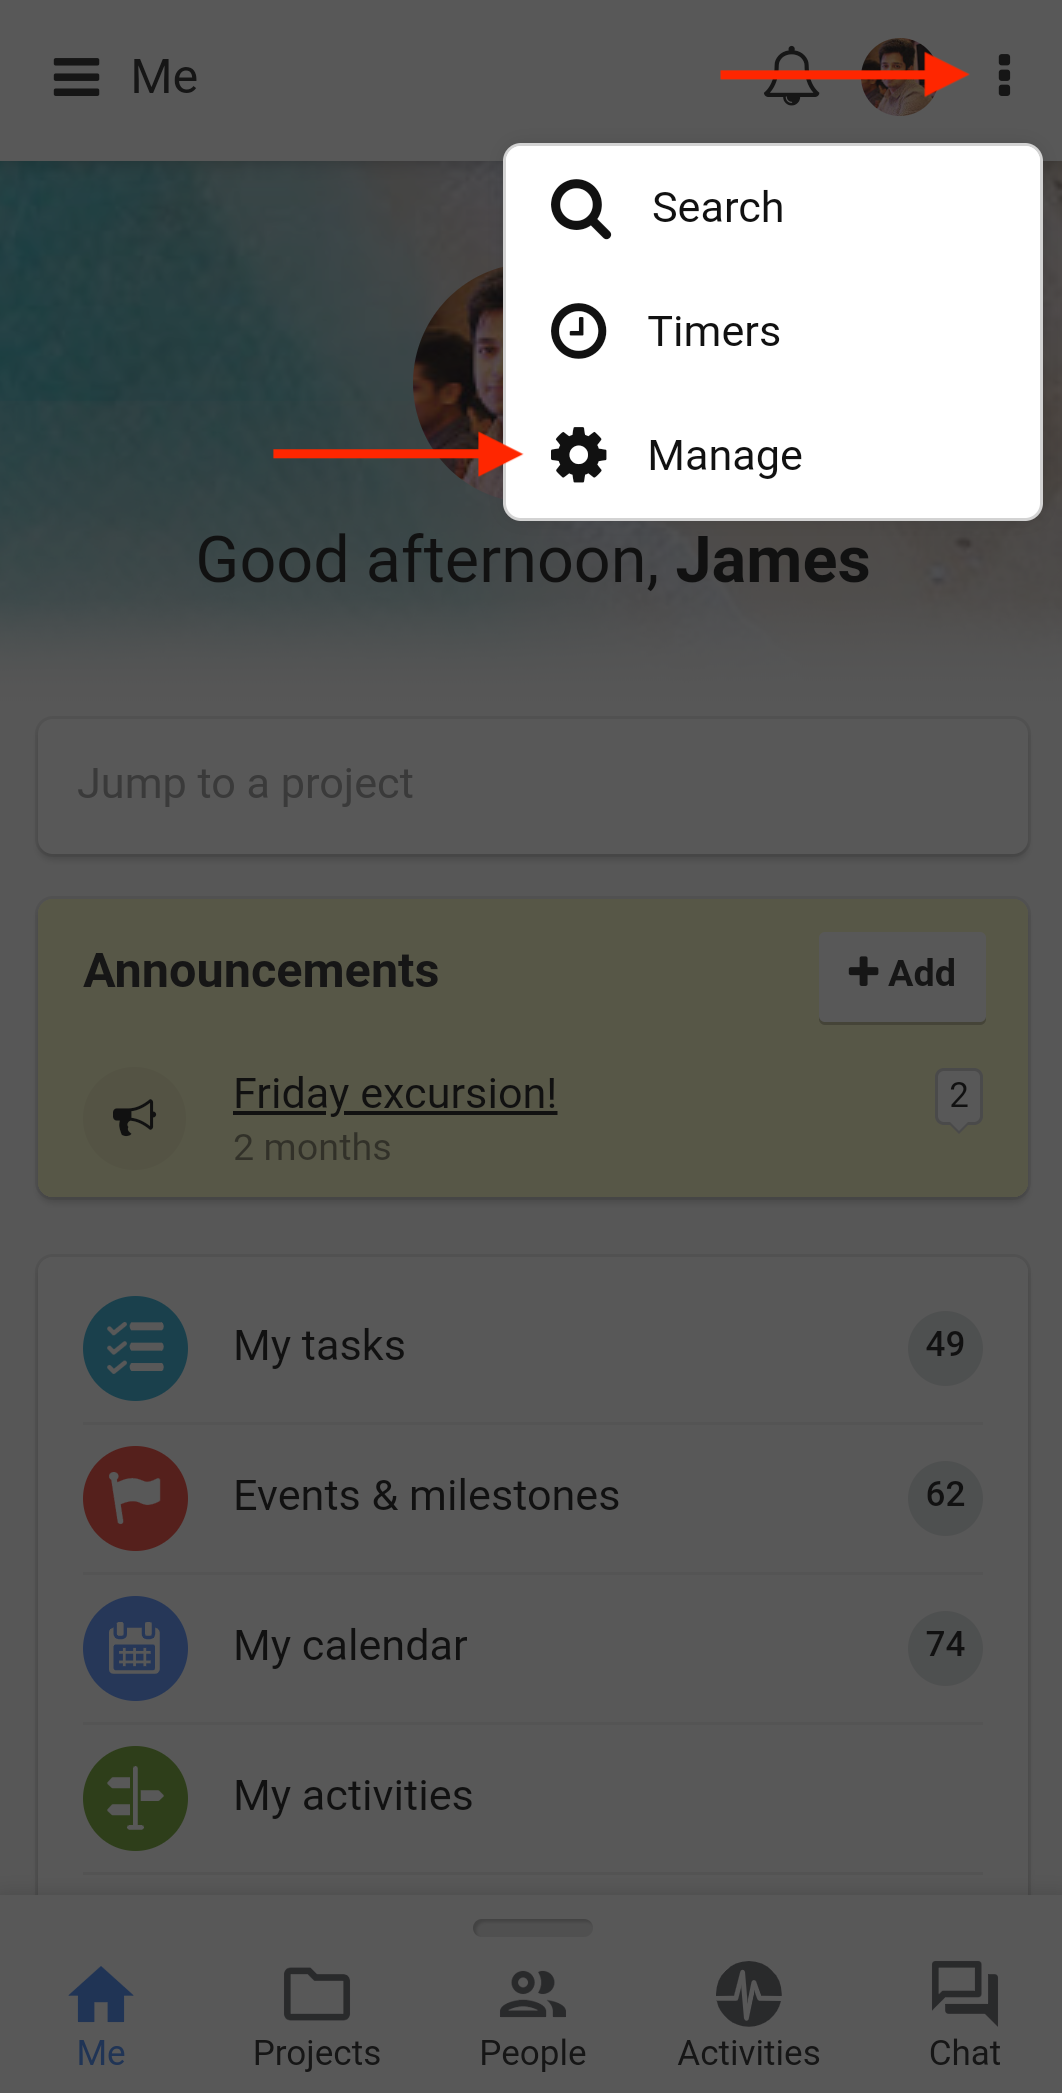
- Tap on the 3 dots on the top-right corner of your screen.
- Select Manage from the drop-down list.
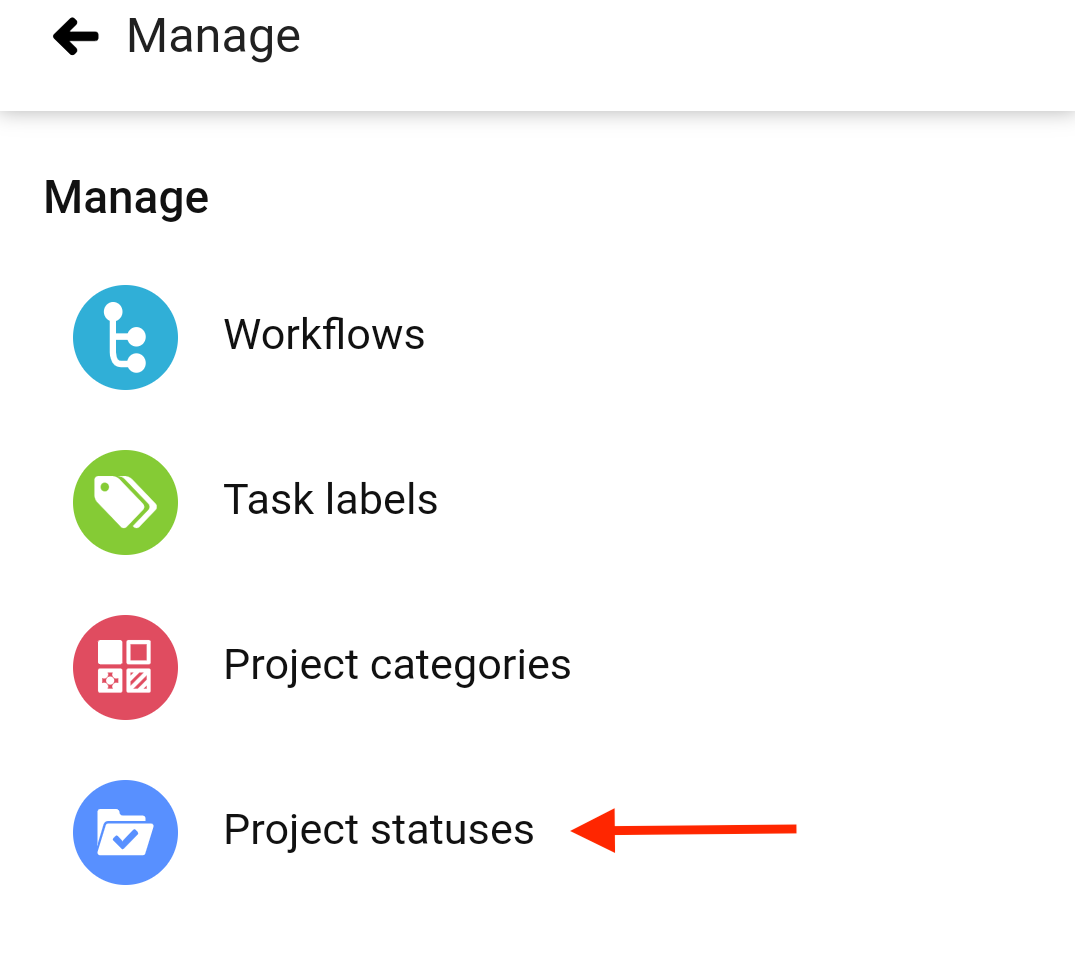
- Select Project statuses.
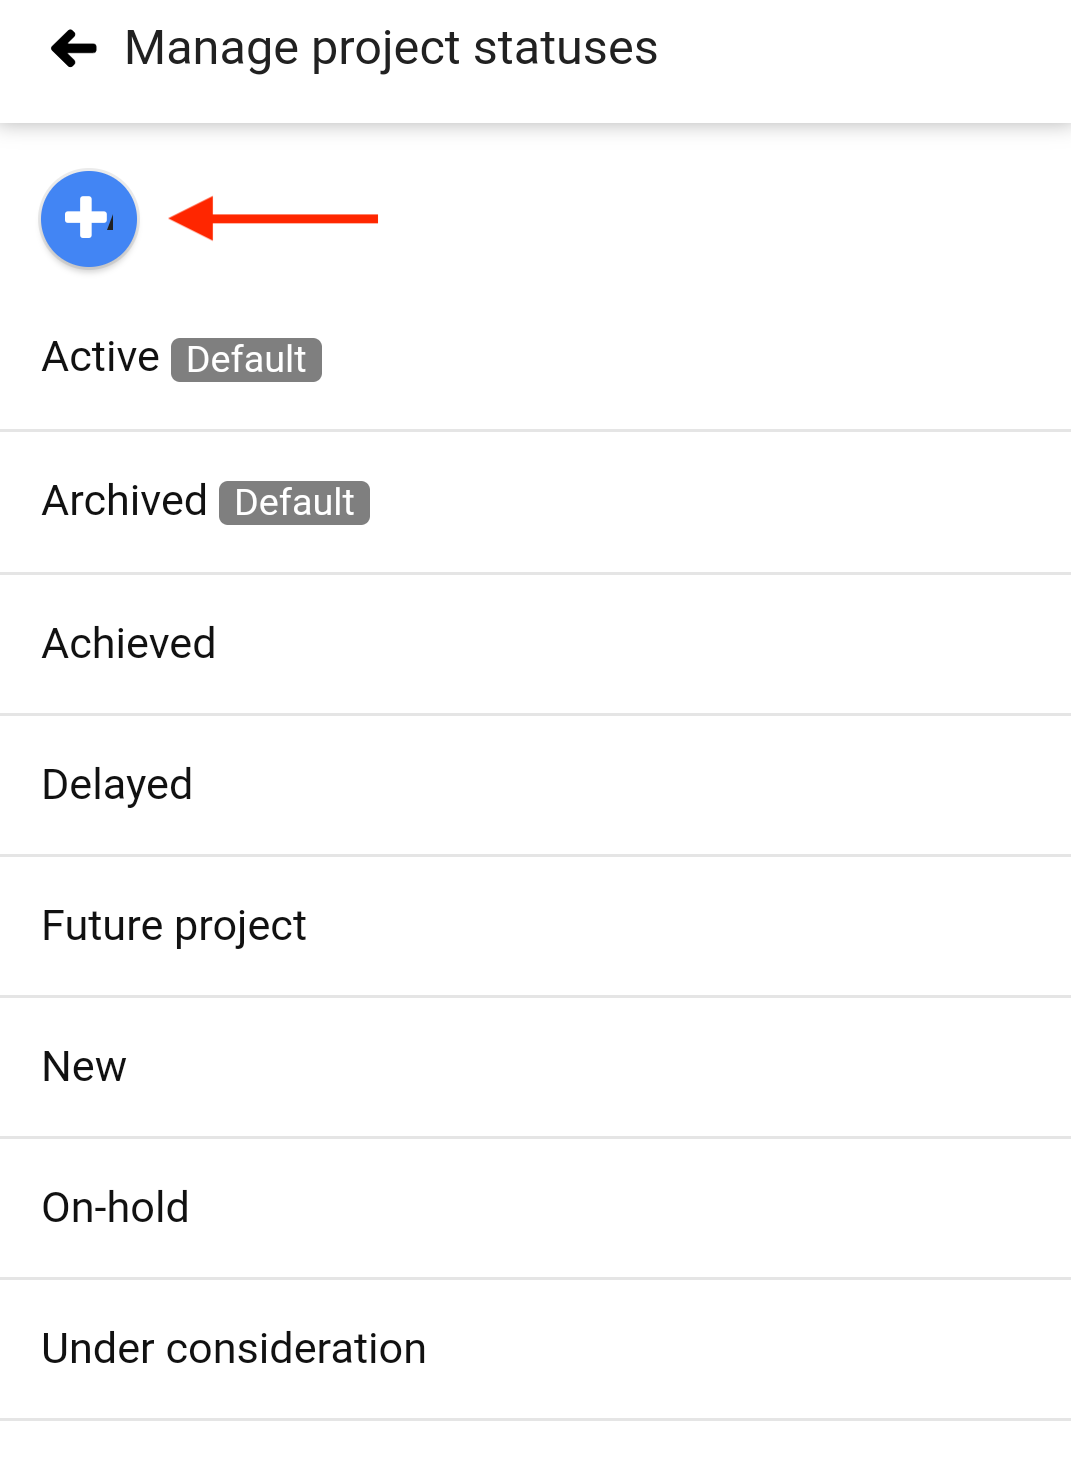
- Tap on the “+” sign to create a new status.
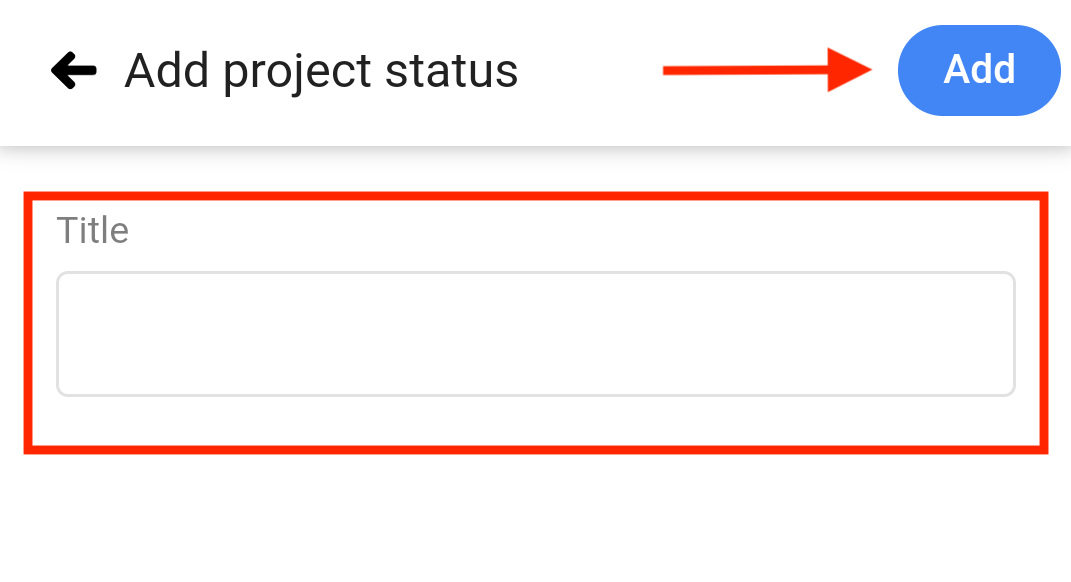
- In the next window type in a new status name and tap on Add to save changes.
Edit project status
- Tap on the 3 dots on the top-right corner of your screen.
- Select Manage from the drop-down list.
- Select Project statuses.
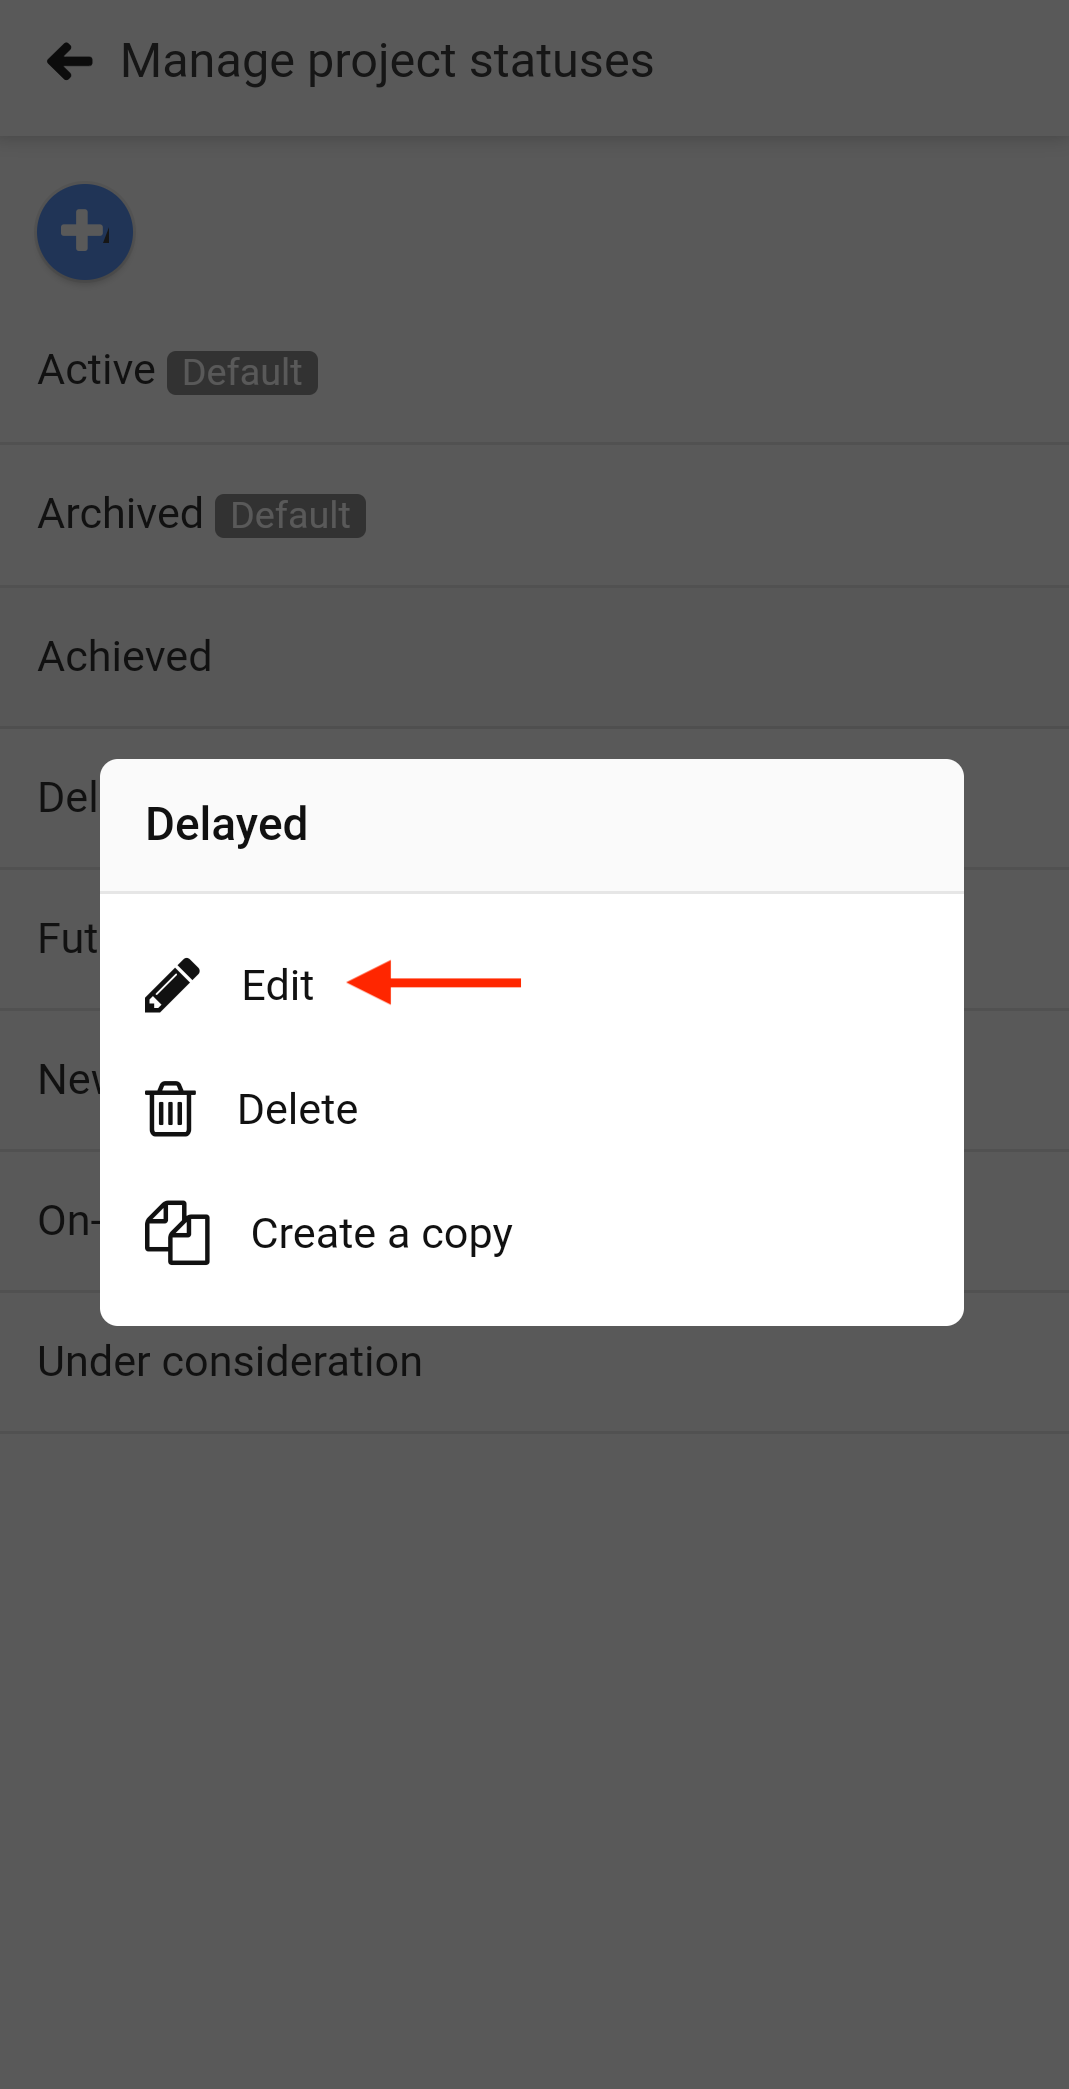
- Long-press an existing status and select Edit from the list.
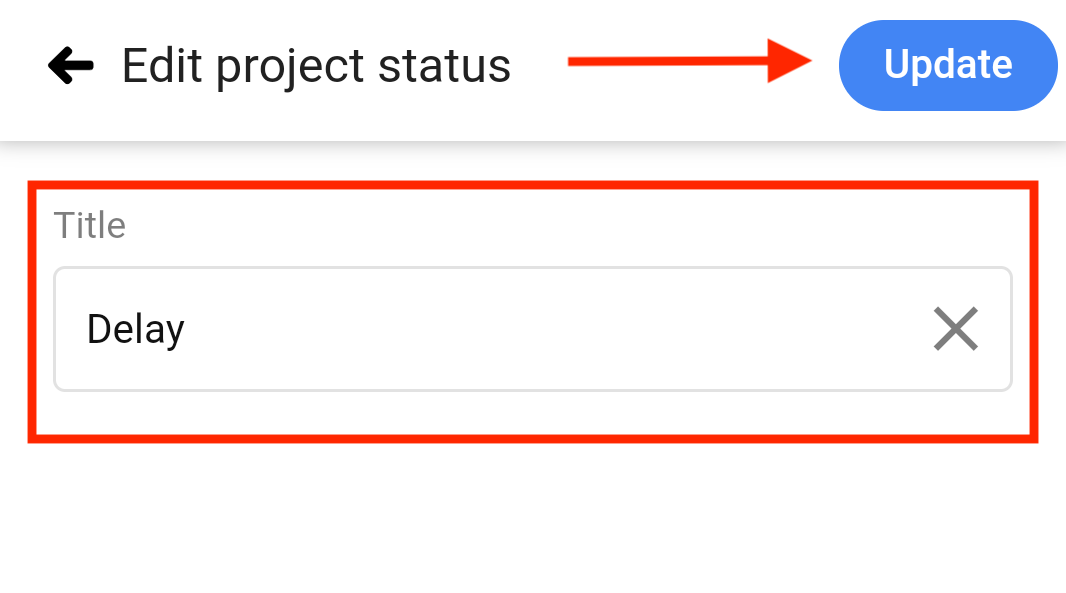
- Update the status name in the next window.
- Tap Update to save changes.
Delete project status
- Tap on the 3 dots on the top-right corner of your screen.
- Select Manage from the drop-down list.
- Select Project statuses.
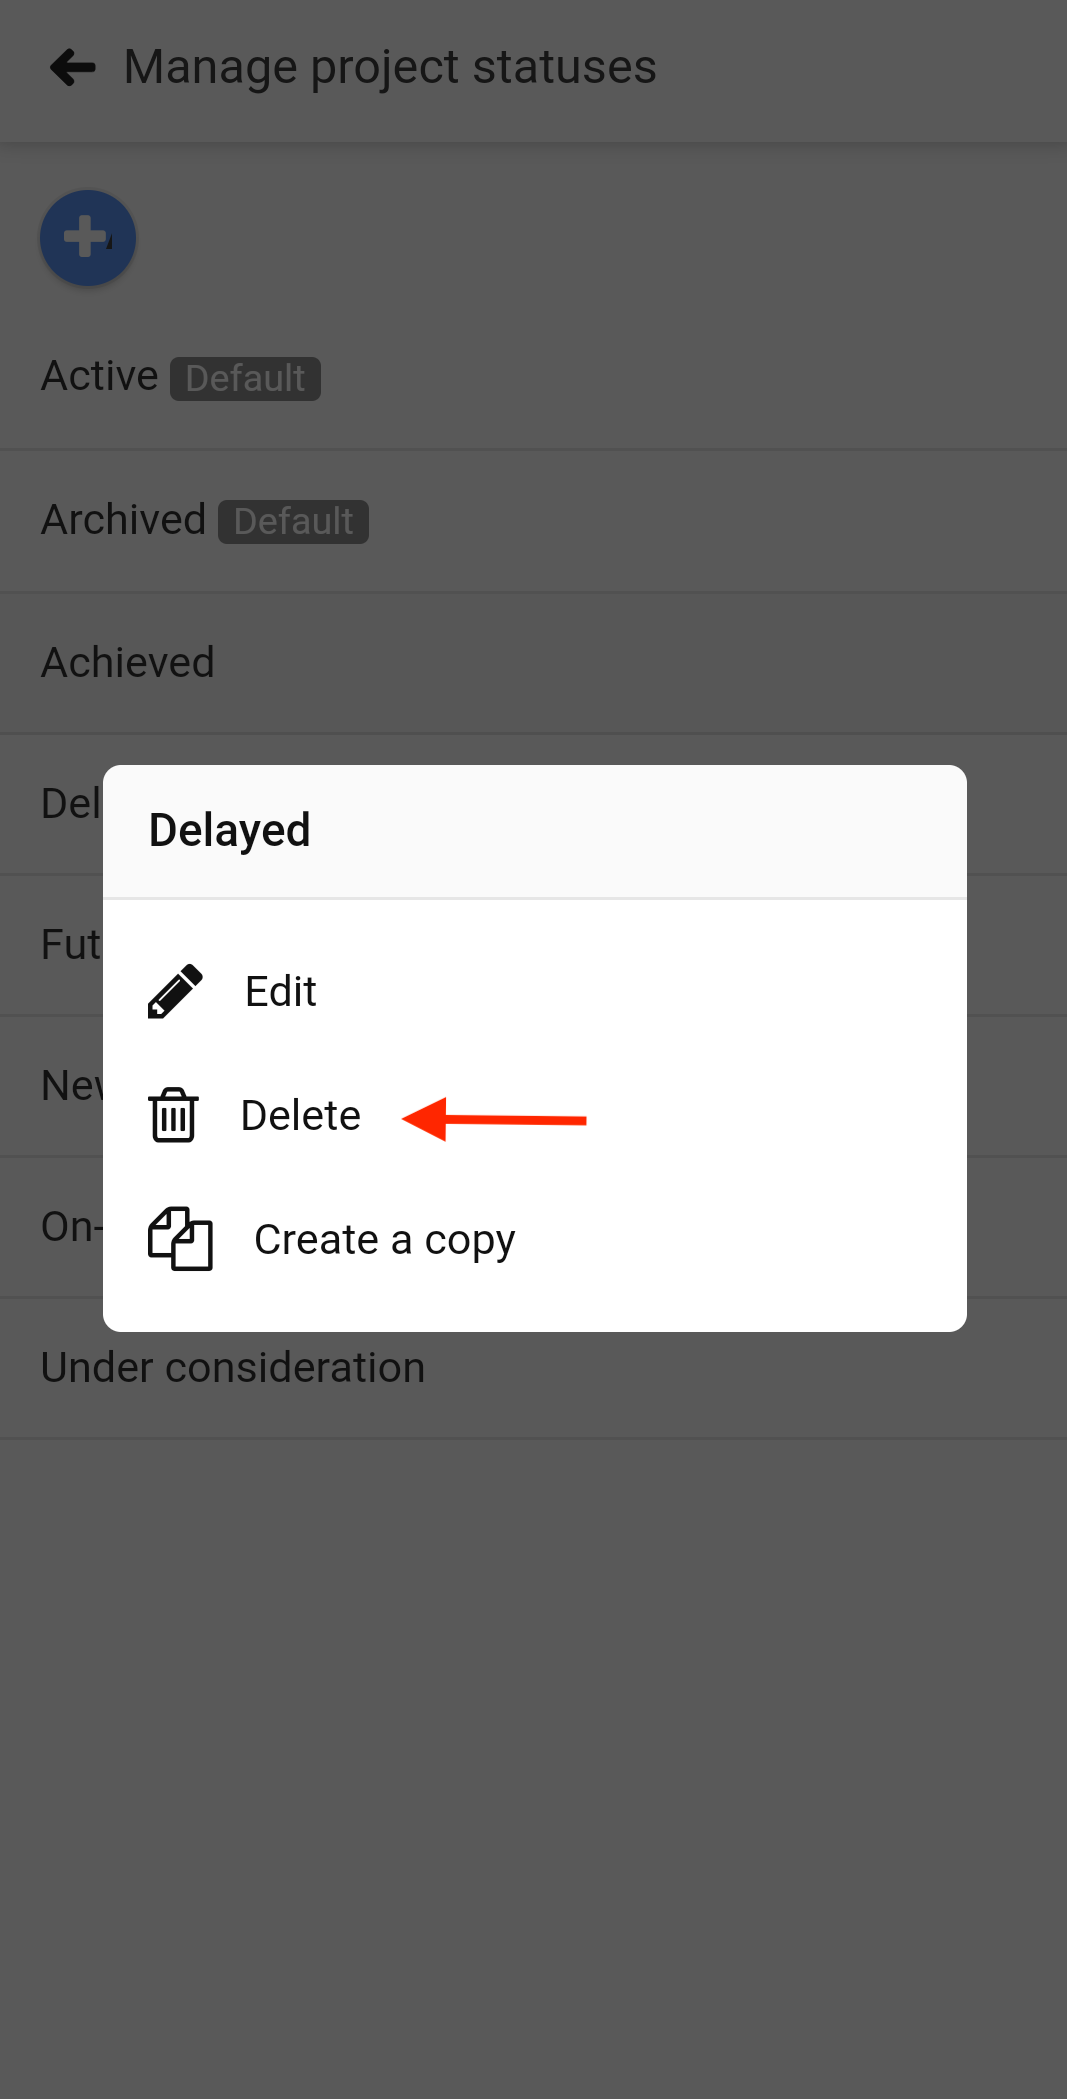
- Long-press an existing status and select Delete from the list.
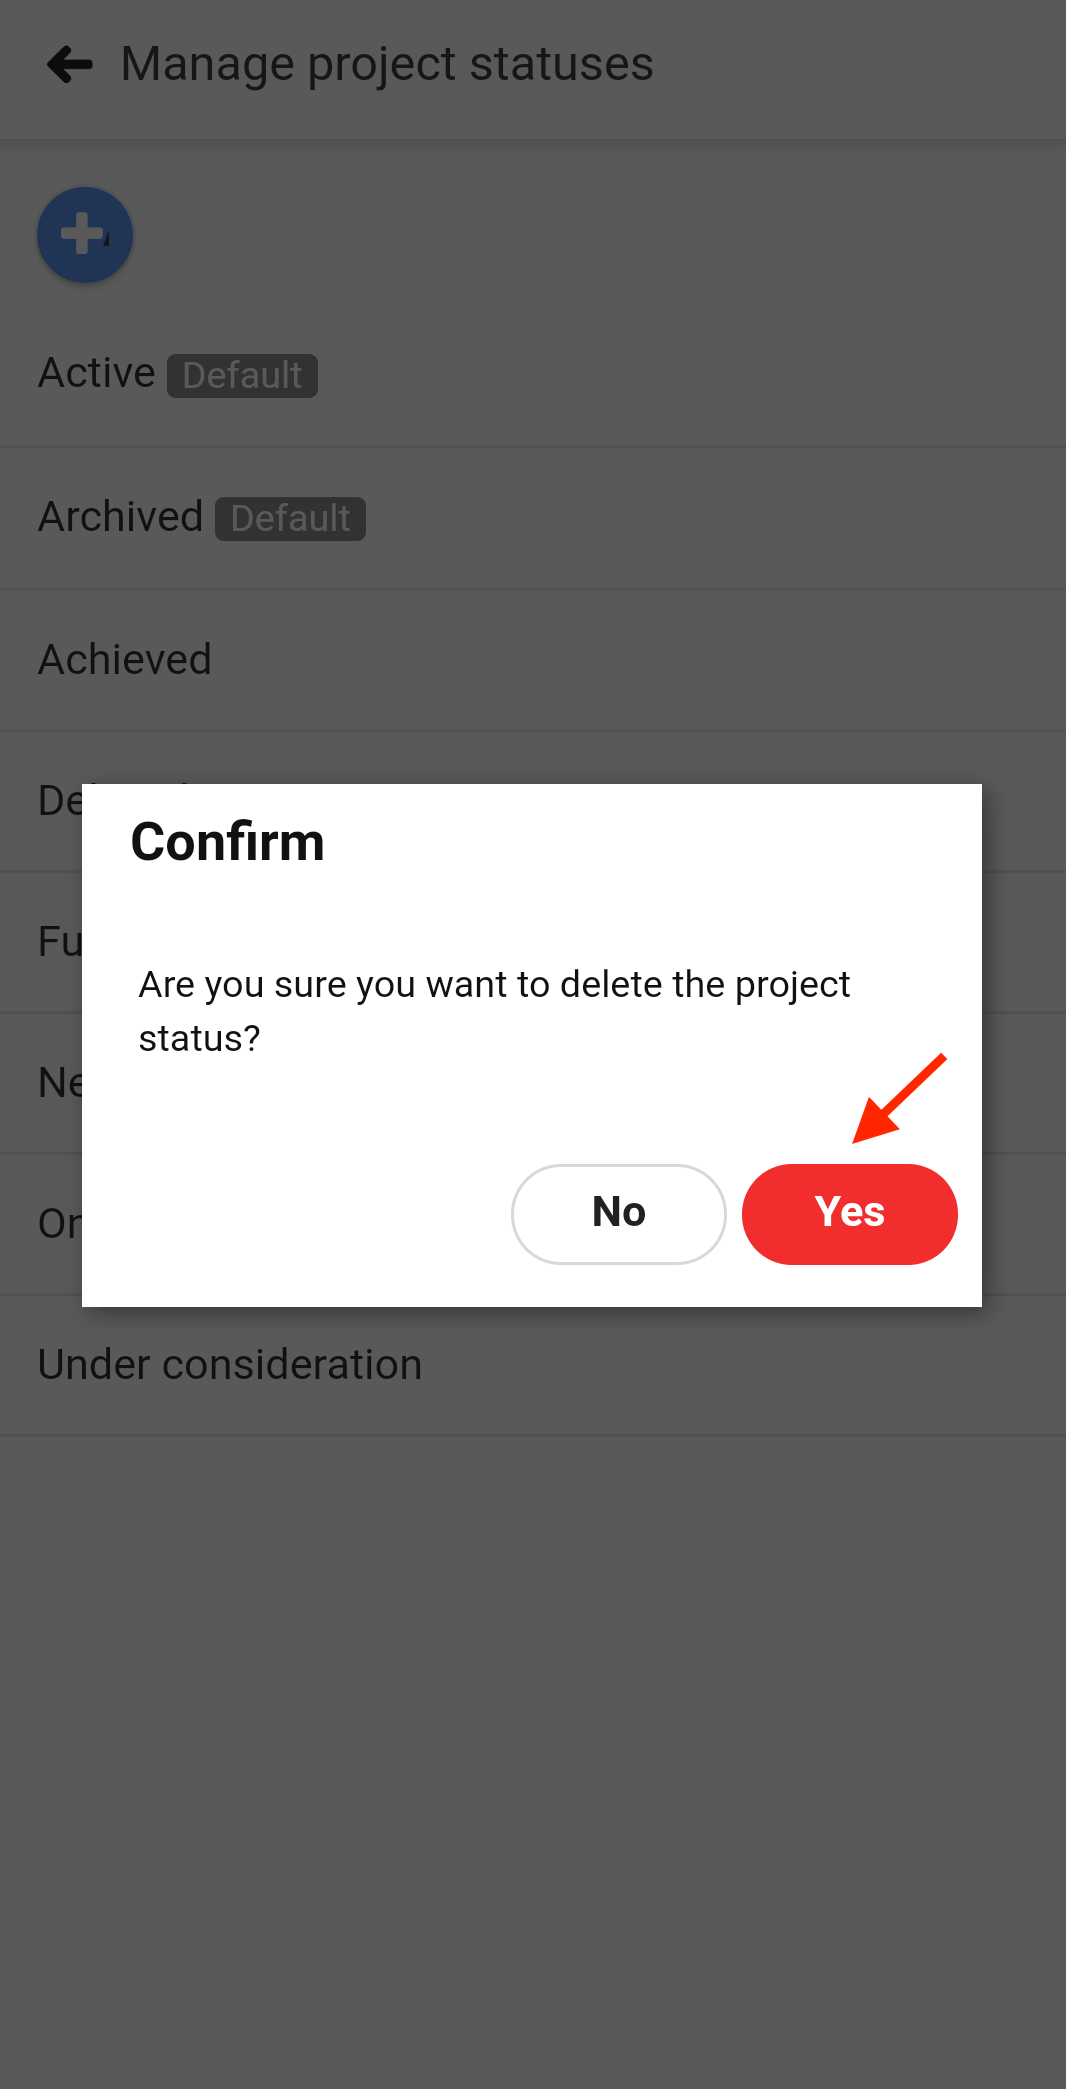
- A confirmation pop up will appear.
- Tap yes to delete.
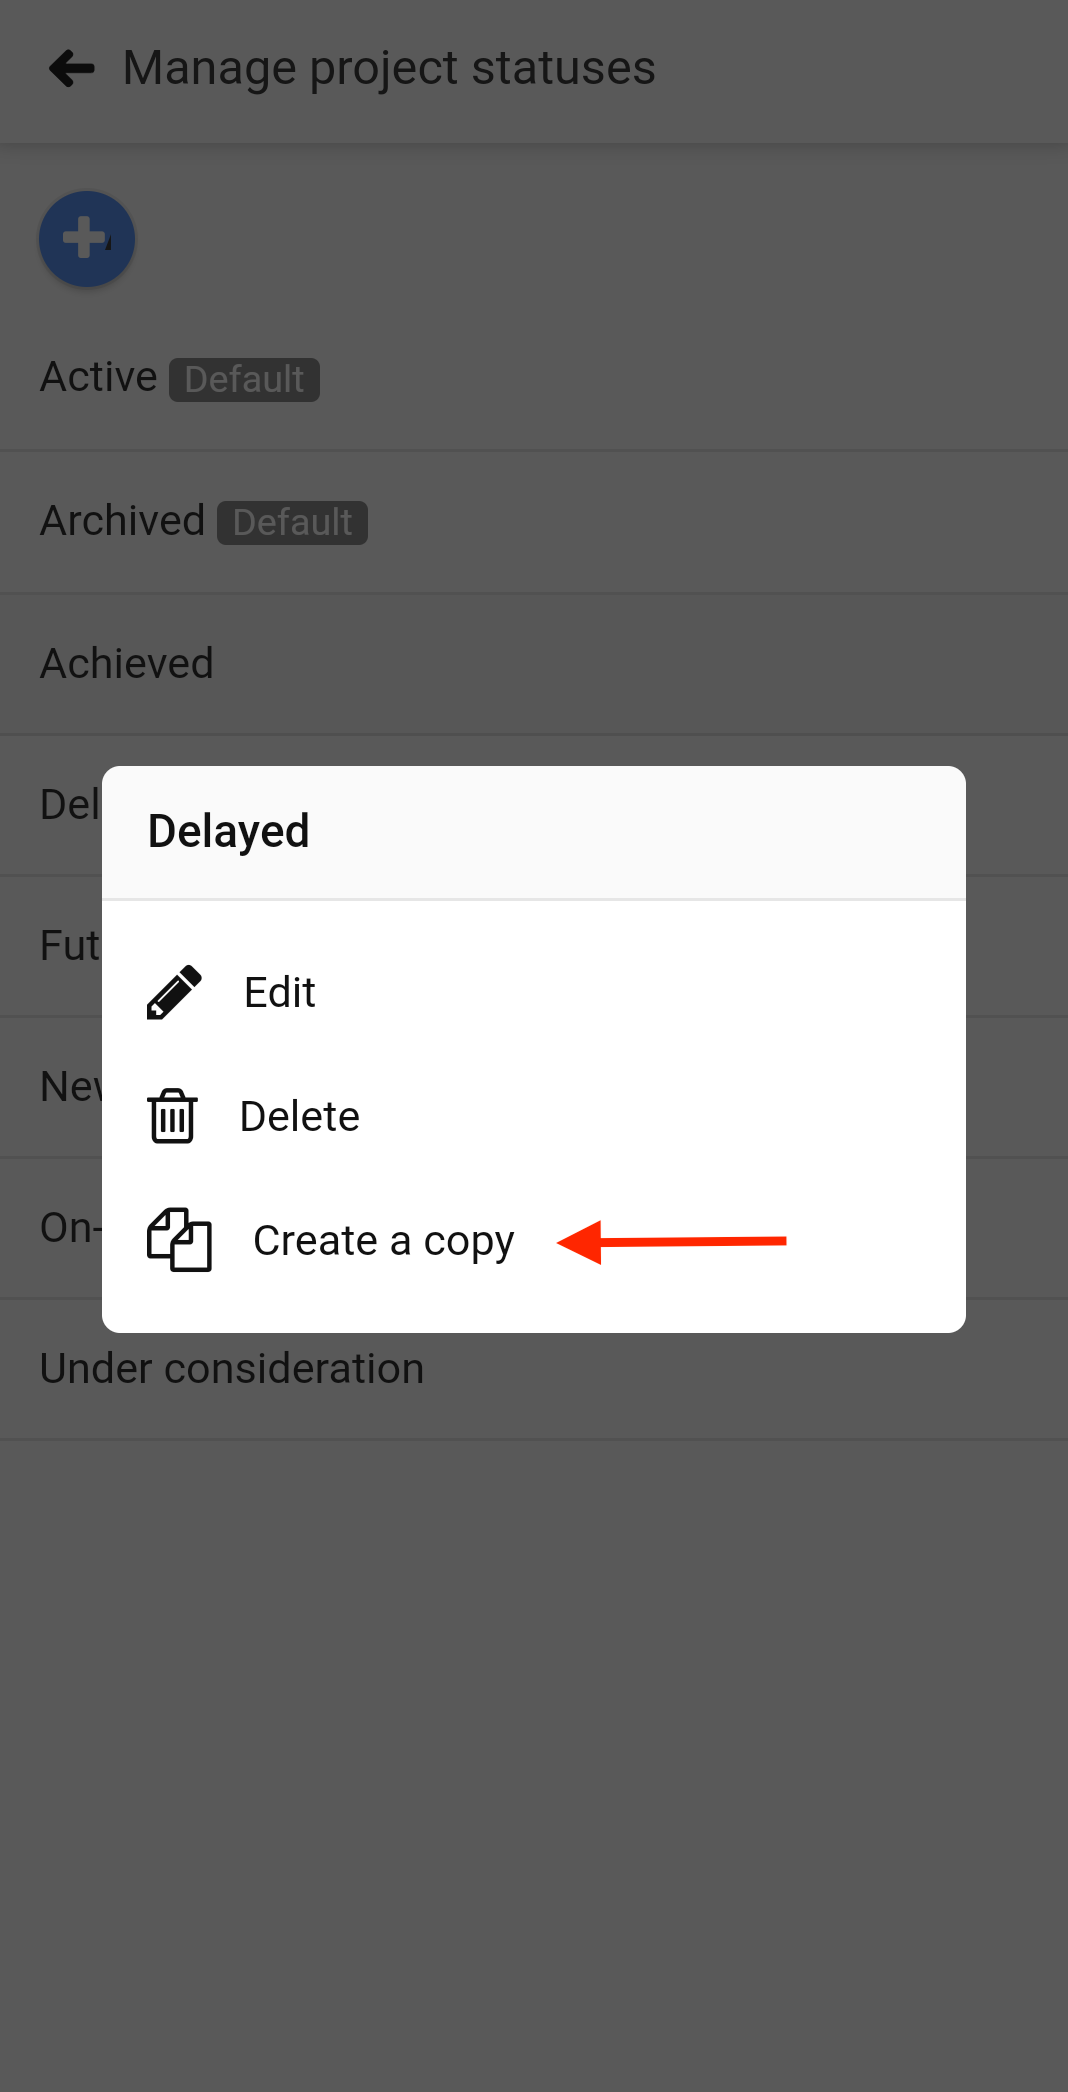
Create a copy of project status
- Tap on the 3 dots on the top-right corner of your screen.
- Select Manage from the drop-down list.
- Select Project statuses.
- Long-press an existing status and select Create a copy from the list.
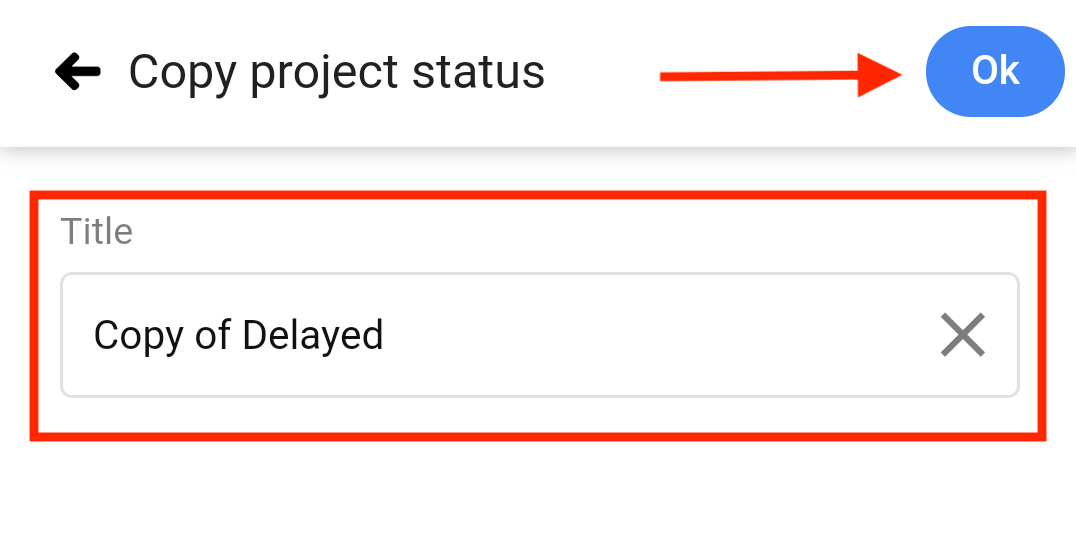
- In the next window make the required changes and tap Ok to save changes.
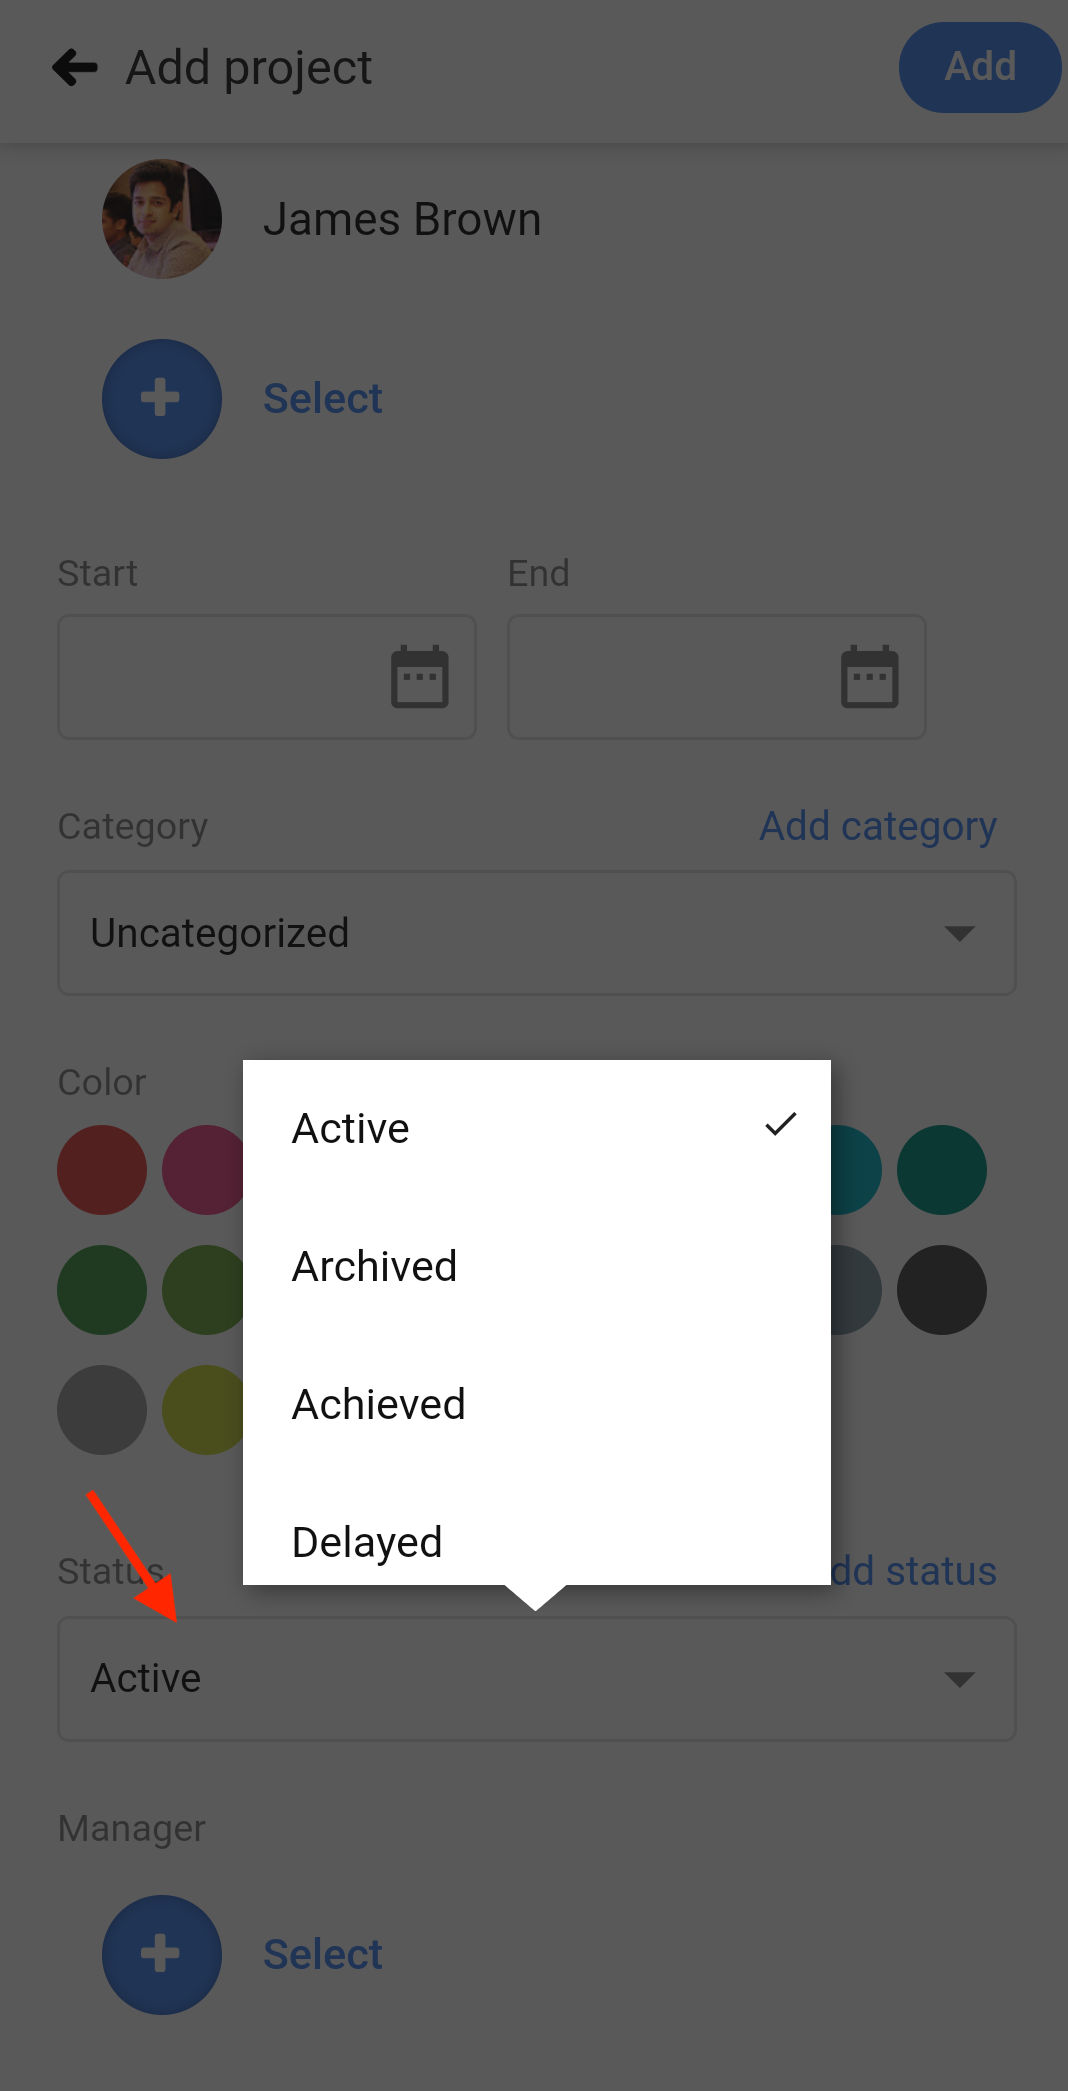
Assign status to a project
Once the project statuses are created, you can assign them to projects in two ways:
- You can simply assign the status during the creation of the new project.
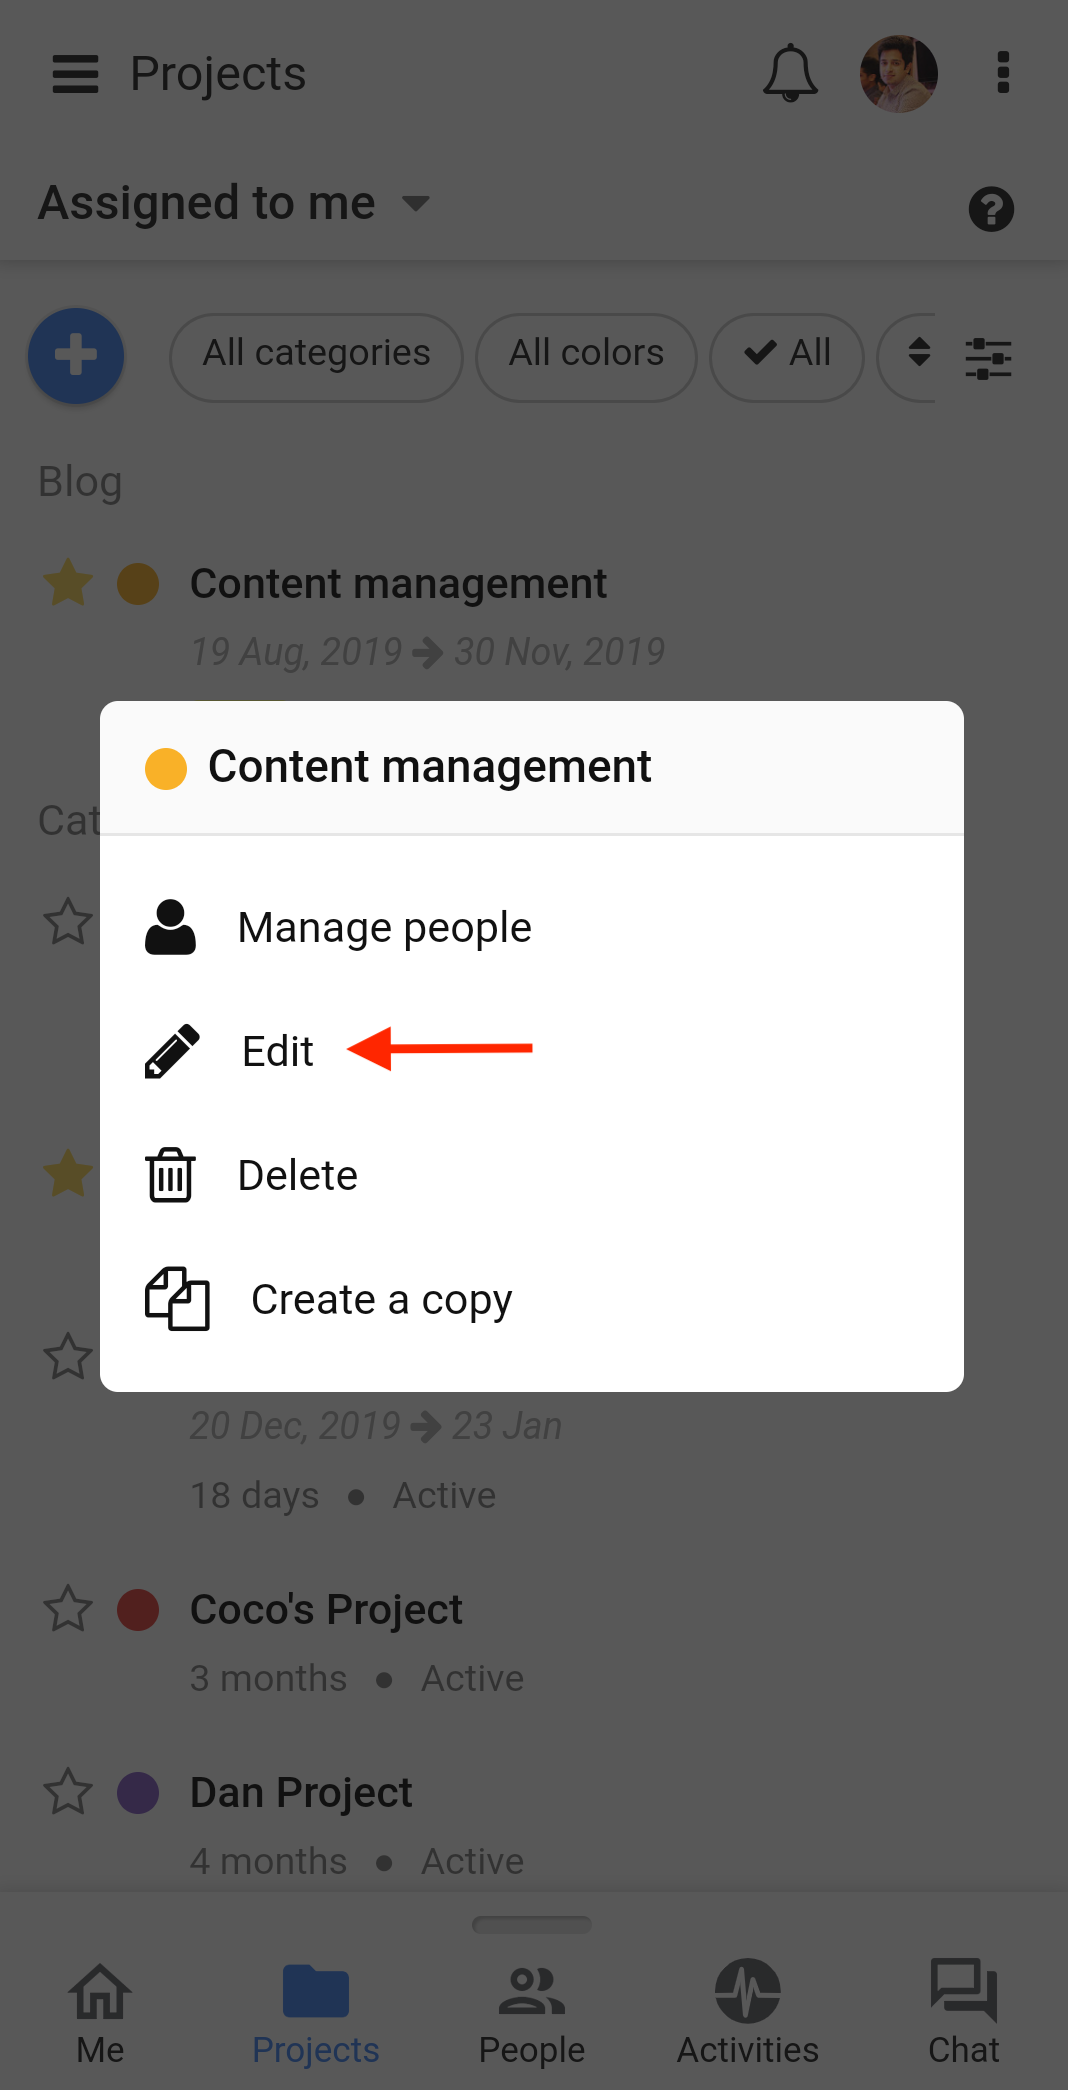
- Or else, long-press on an existing project and select Edit to change its status.

Need more help?
- Can't find the answer to your questions? Contact ProofHub Support
- Check our blog for the latest additions, updates and tips.