Project Categories
Categories can be used to group multiple projects under one heading. This makes it easy for users to search for projects and generate multiple reports by filtering projects on the basis of their category.
Add categories
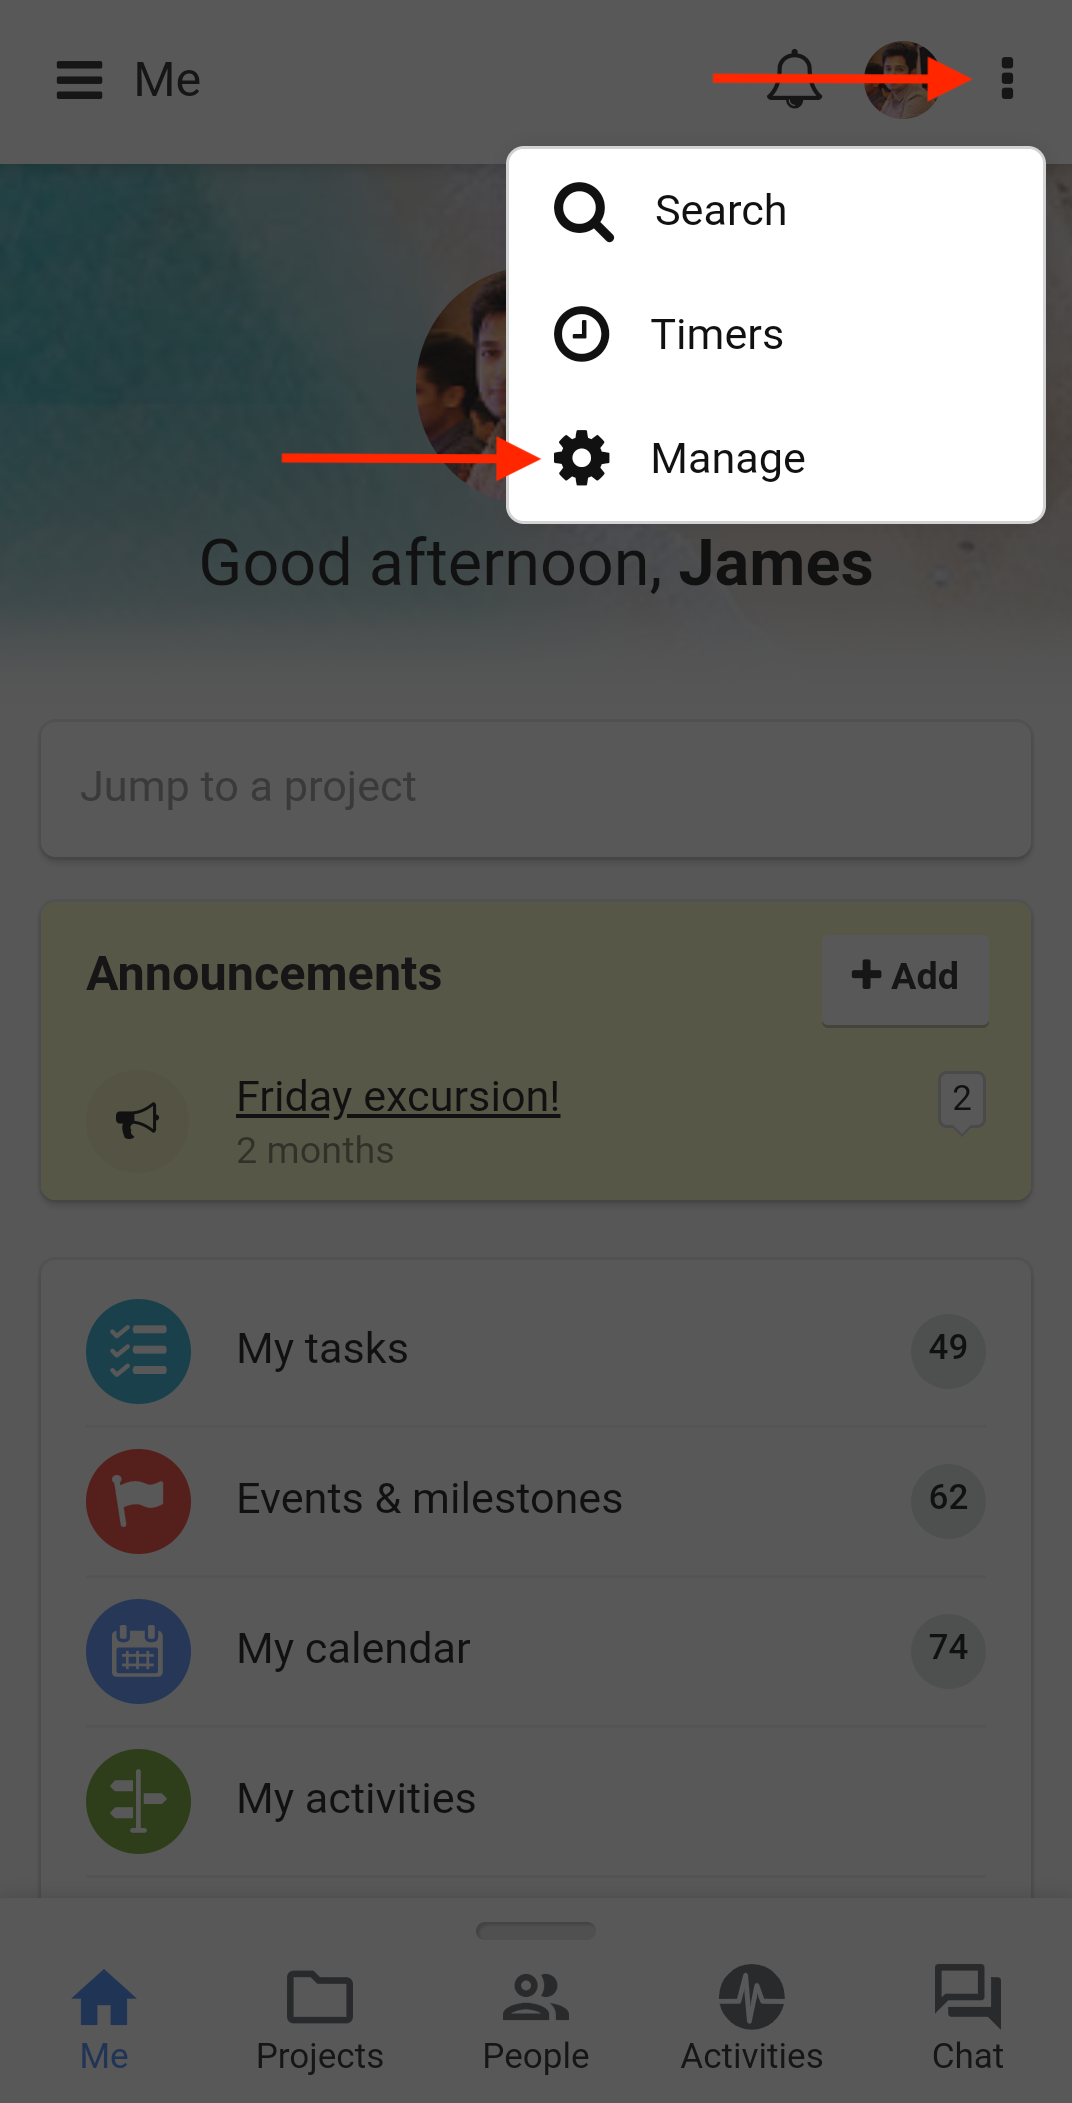
- Tap on the 3 dots on the top-right corner of your screen.
- Select Manage from the drop-down list.
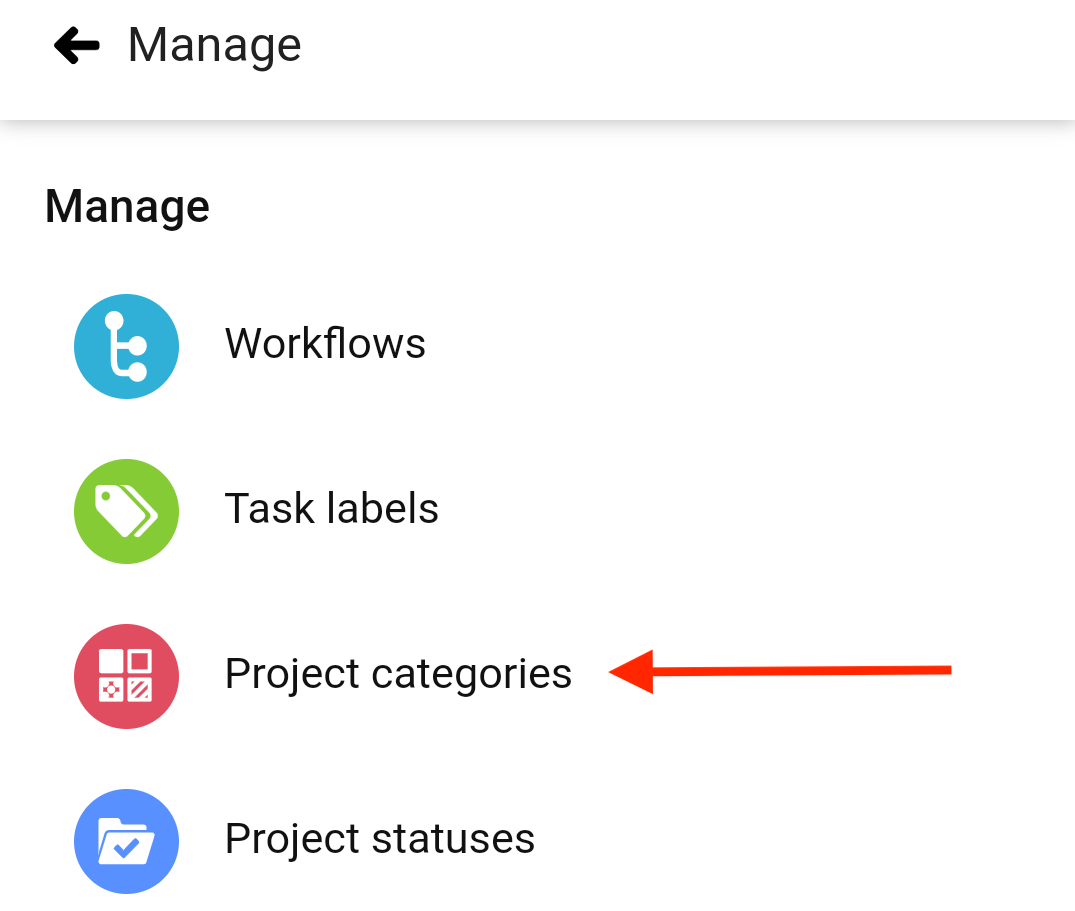
- Select Project categories.
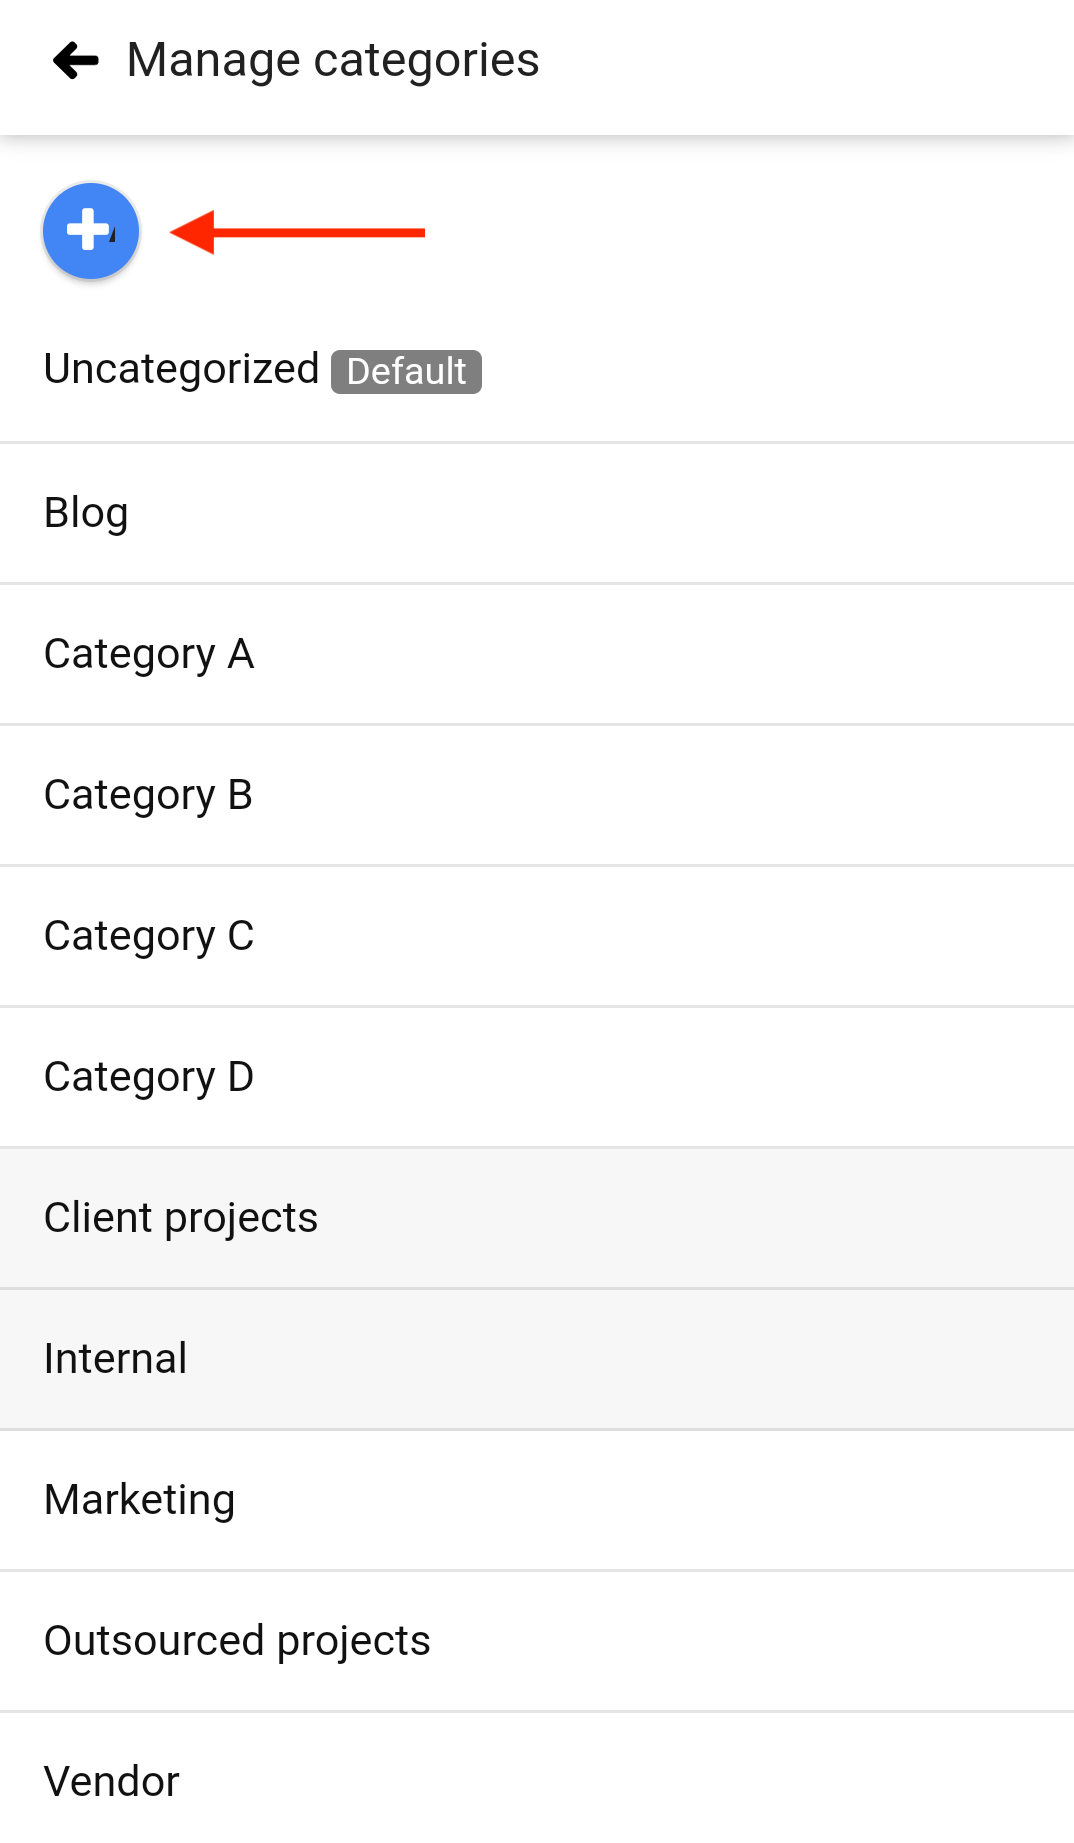
- Tap on the “+” sign to create a new category.
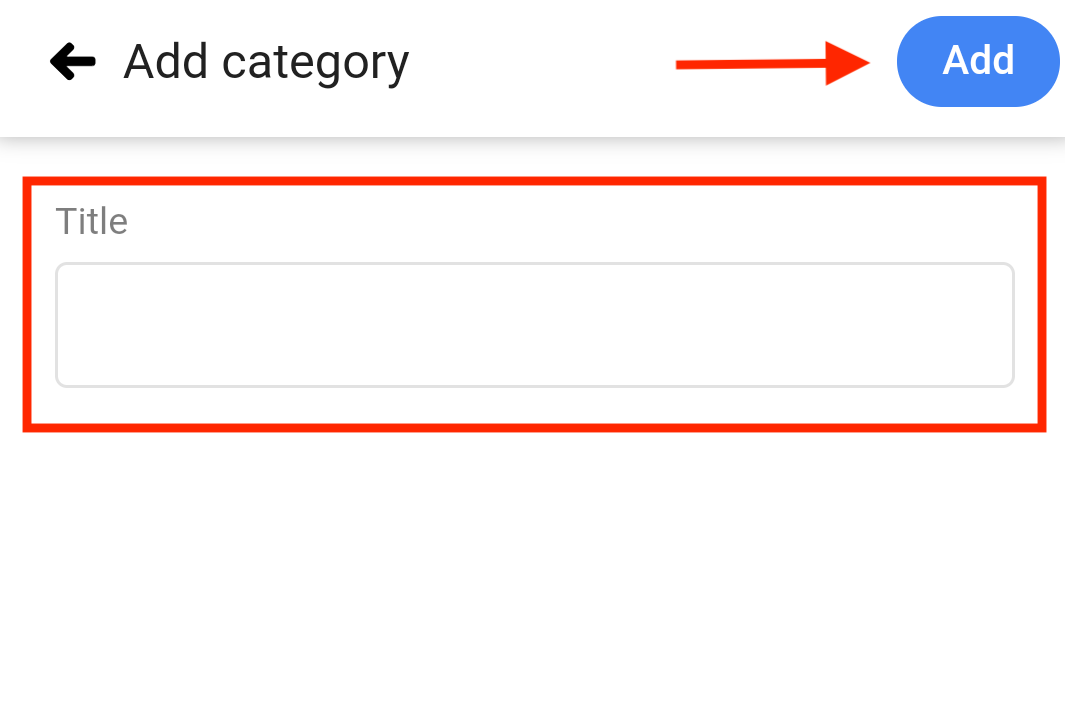
- In the next window type in a new category name and tap on Add to save changes.
Edit project categories
- Tap on the 3 dots on the top-right corner of your screen.
- Select Manage from the drop-down list.
- Select Project categories.
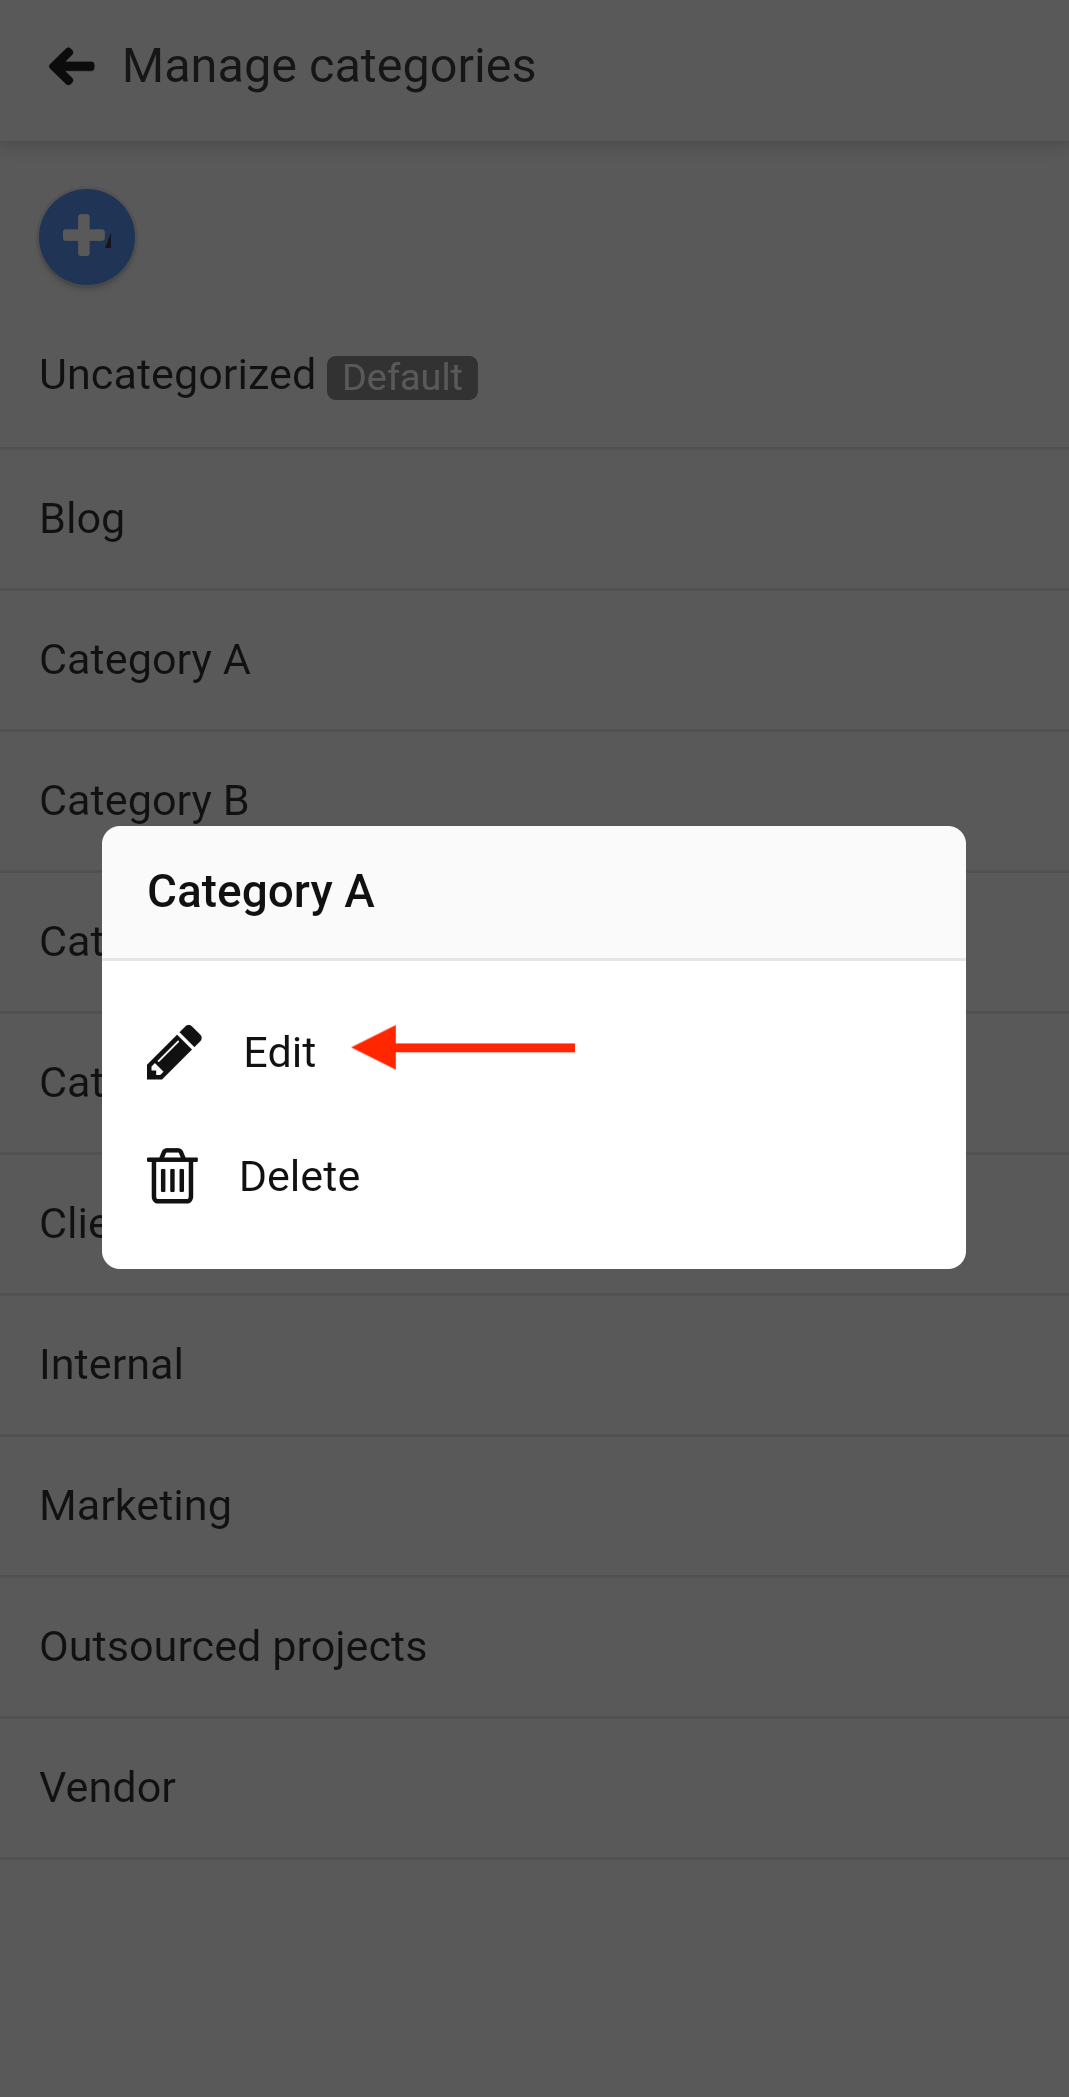
- Long-press an existing category and select Edit from the list.
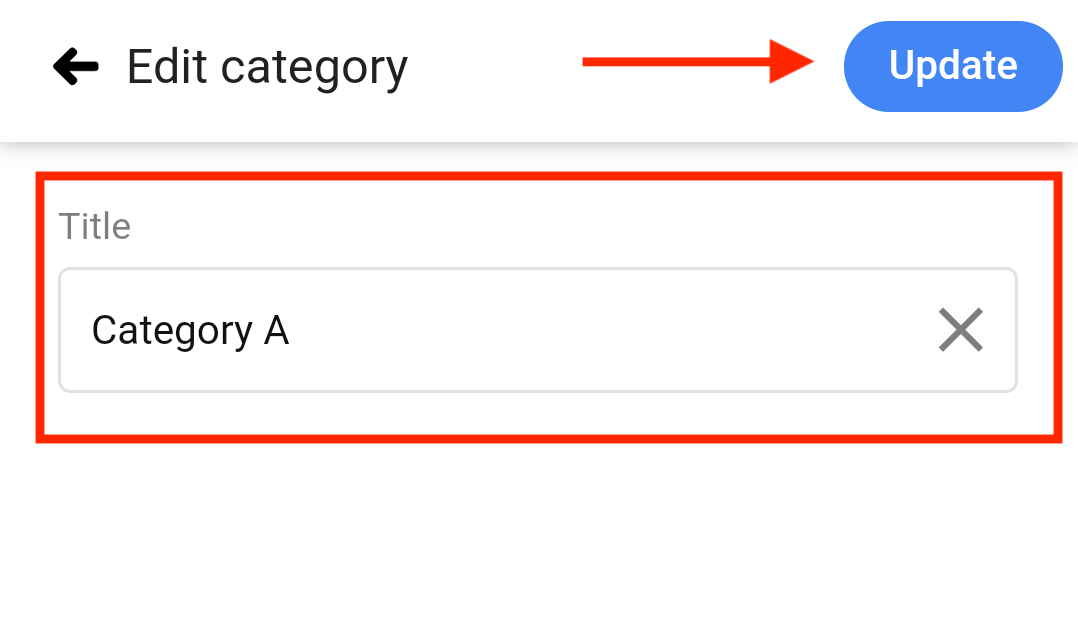
- Update the category name in the next window.
- Tap Update to save changes.
Delete project categories
- Tap on the 3 dots on the top-right corner of your screen.
- Select Manage from the drop-down list.
- Select Project categories.
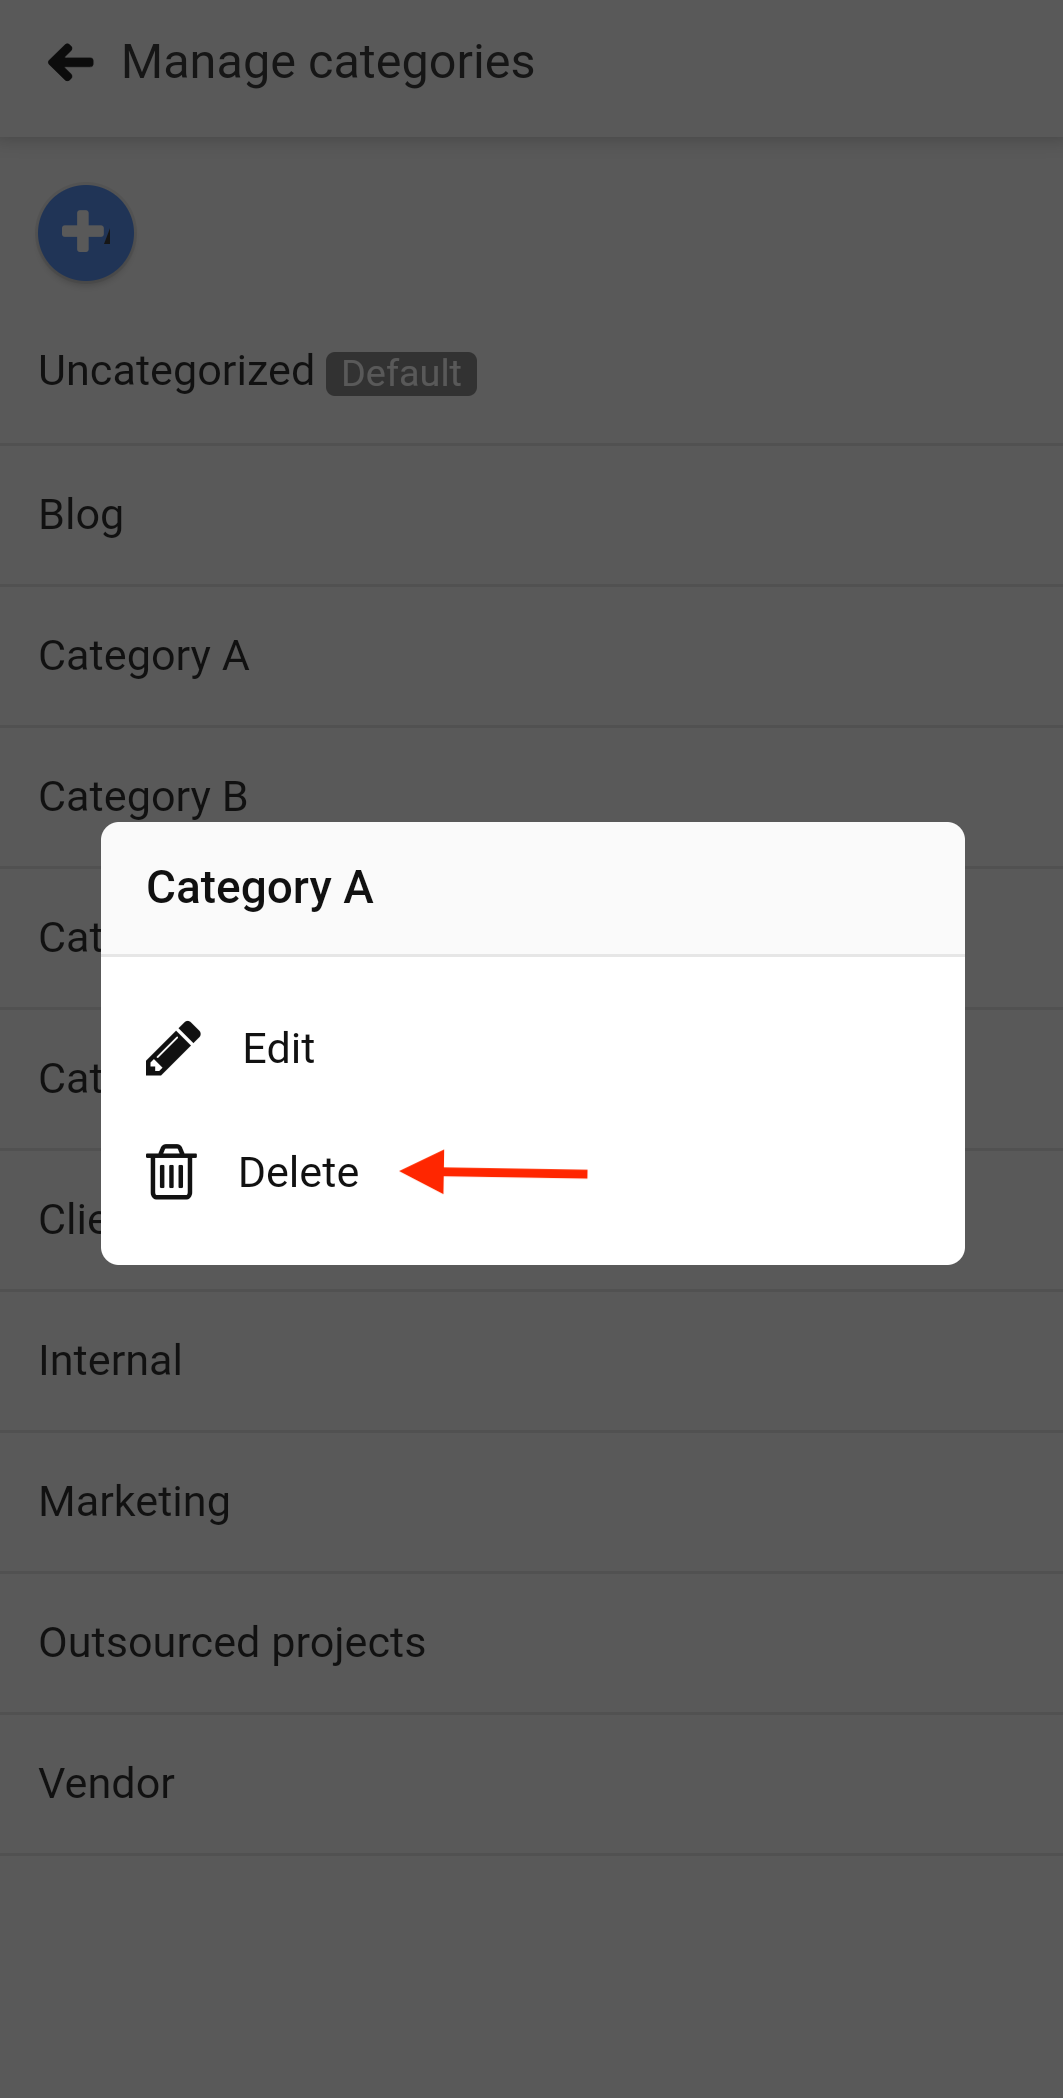
- Long-press an existing category and select Delete from the list.
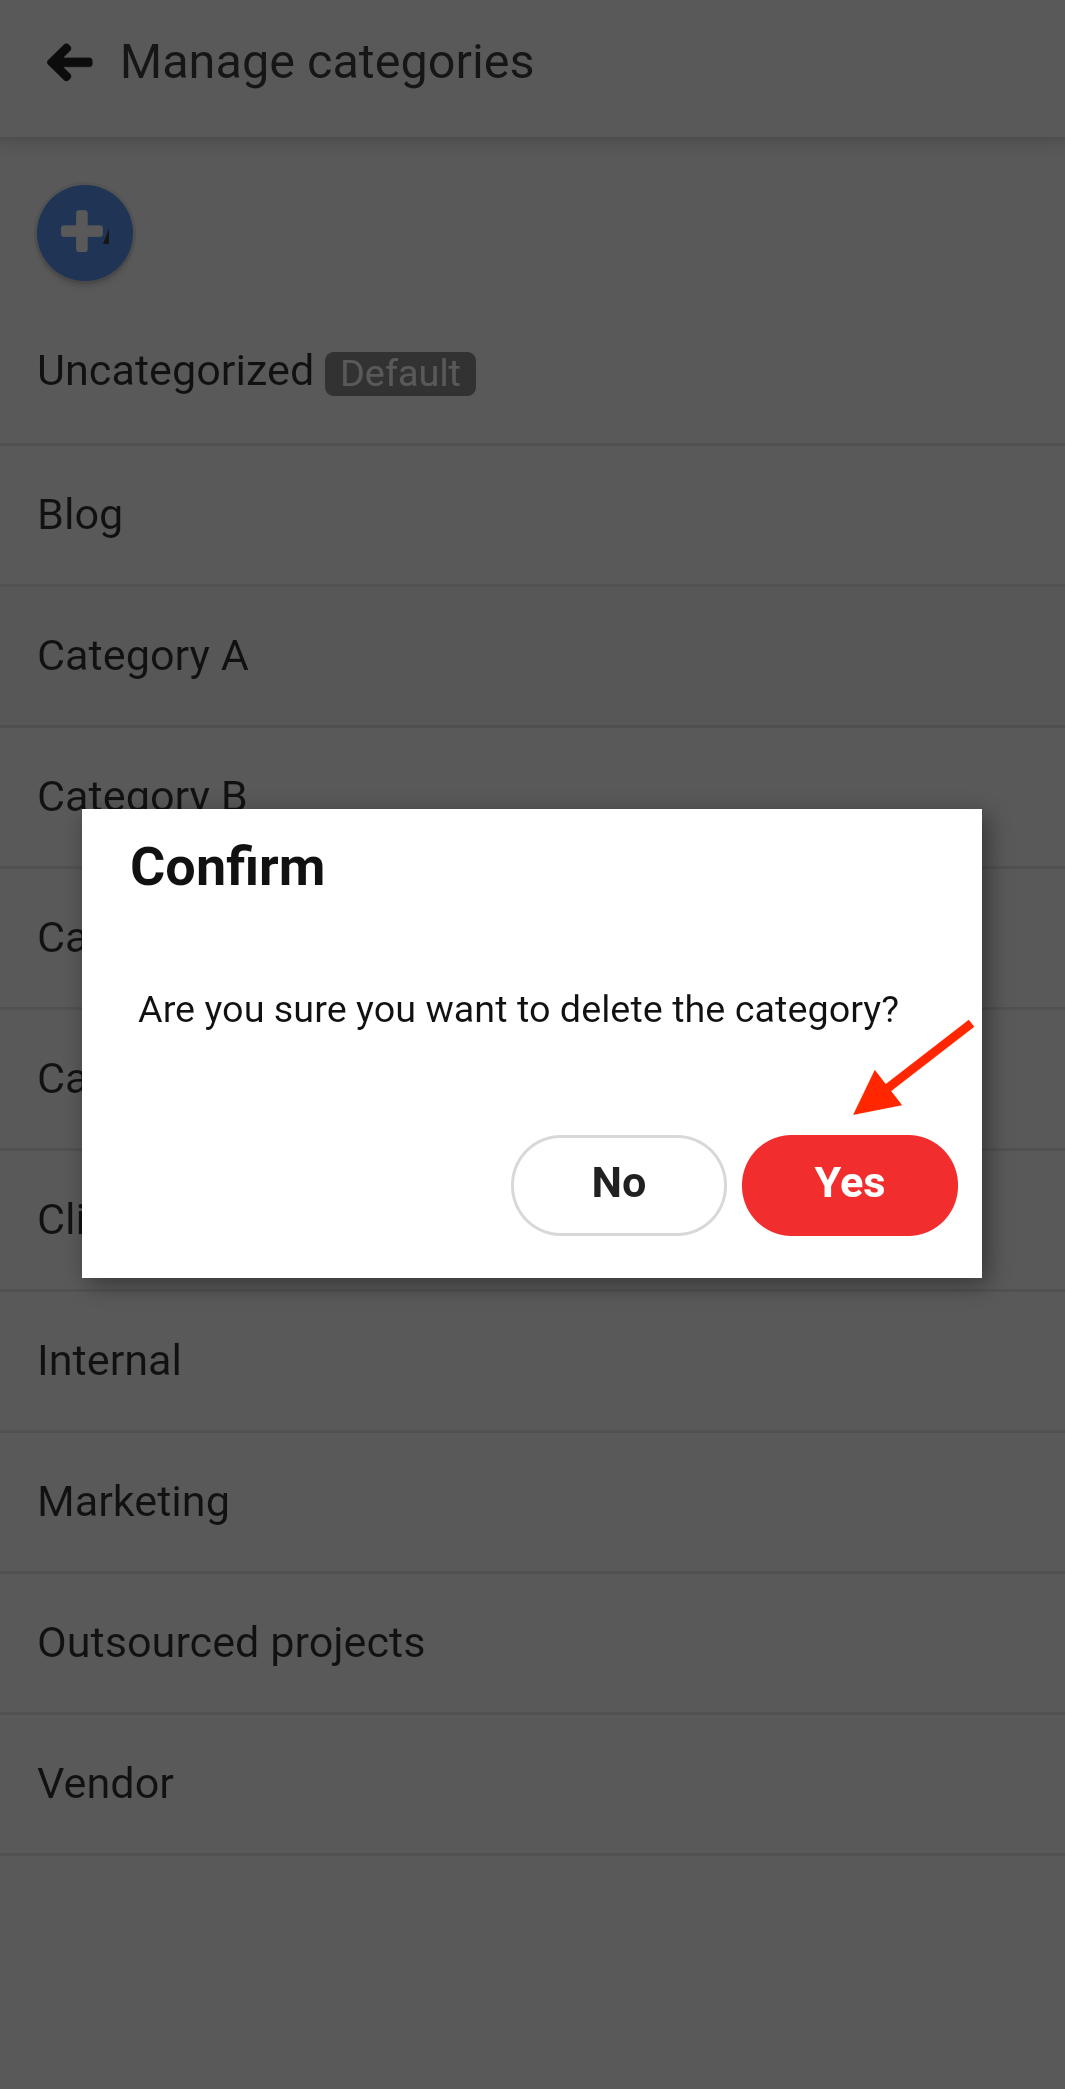
- A confirmation pop up will appear.
- Tap yes to delete.
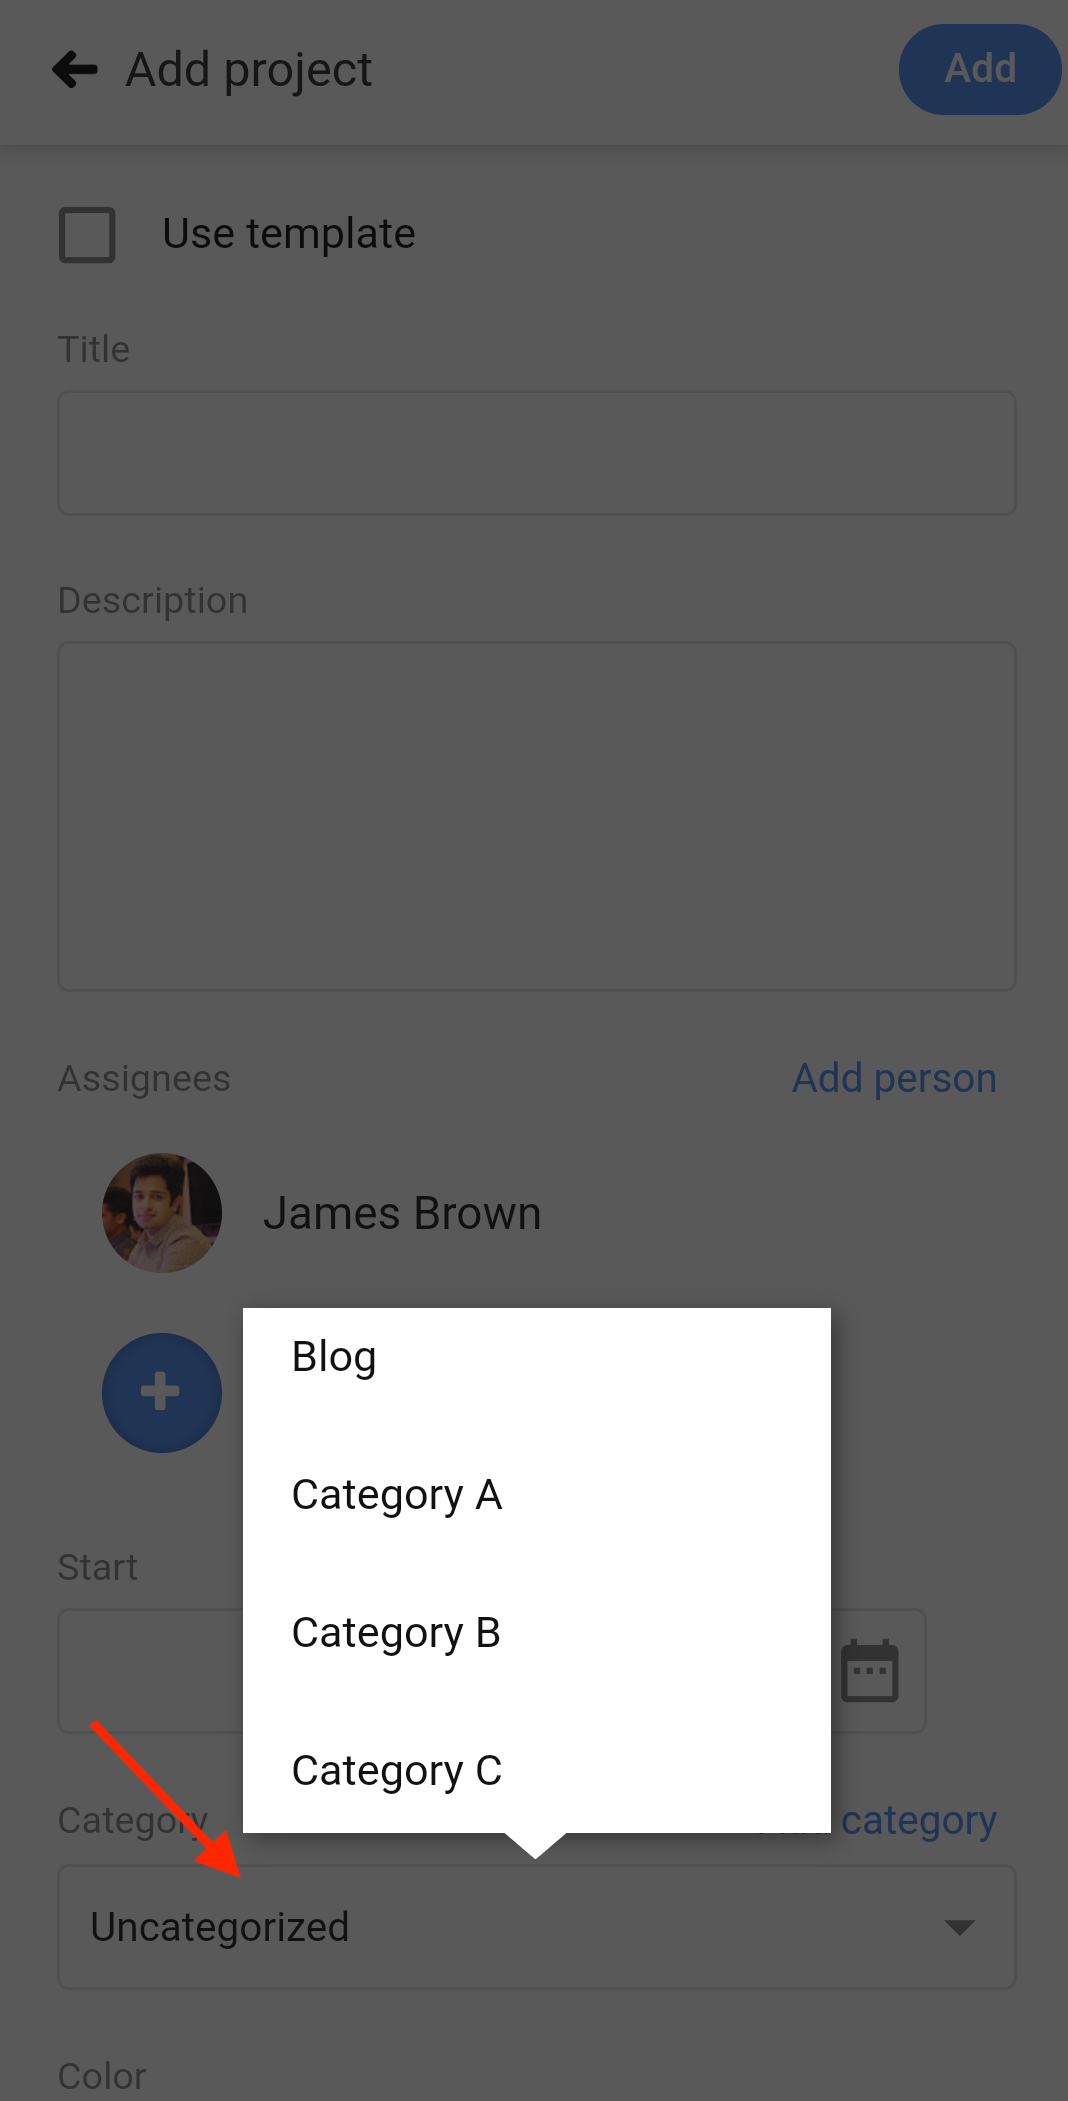
Assign categories to projects
Once the project categories are created, you can assign them to projects in two ways:
- You can simply assign the category during the creation of the new project.
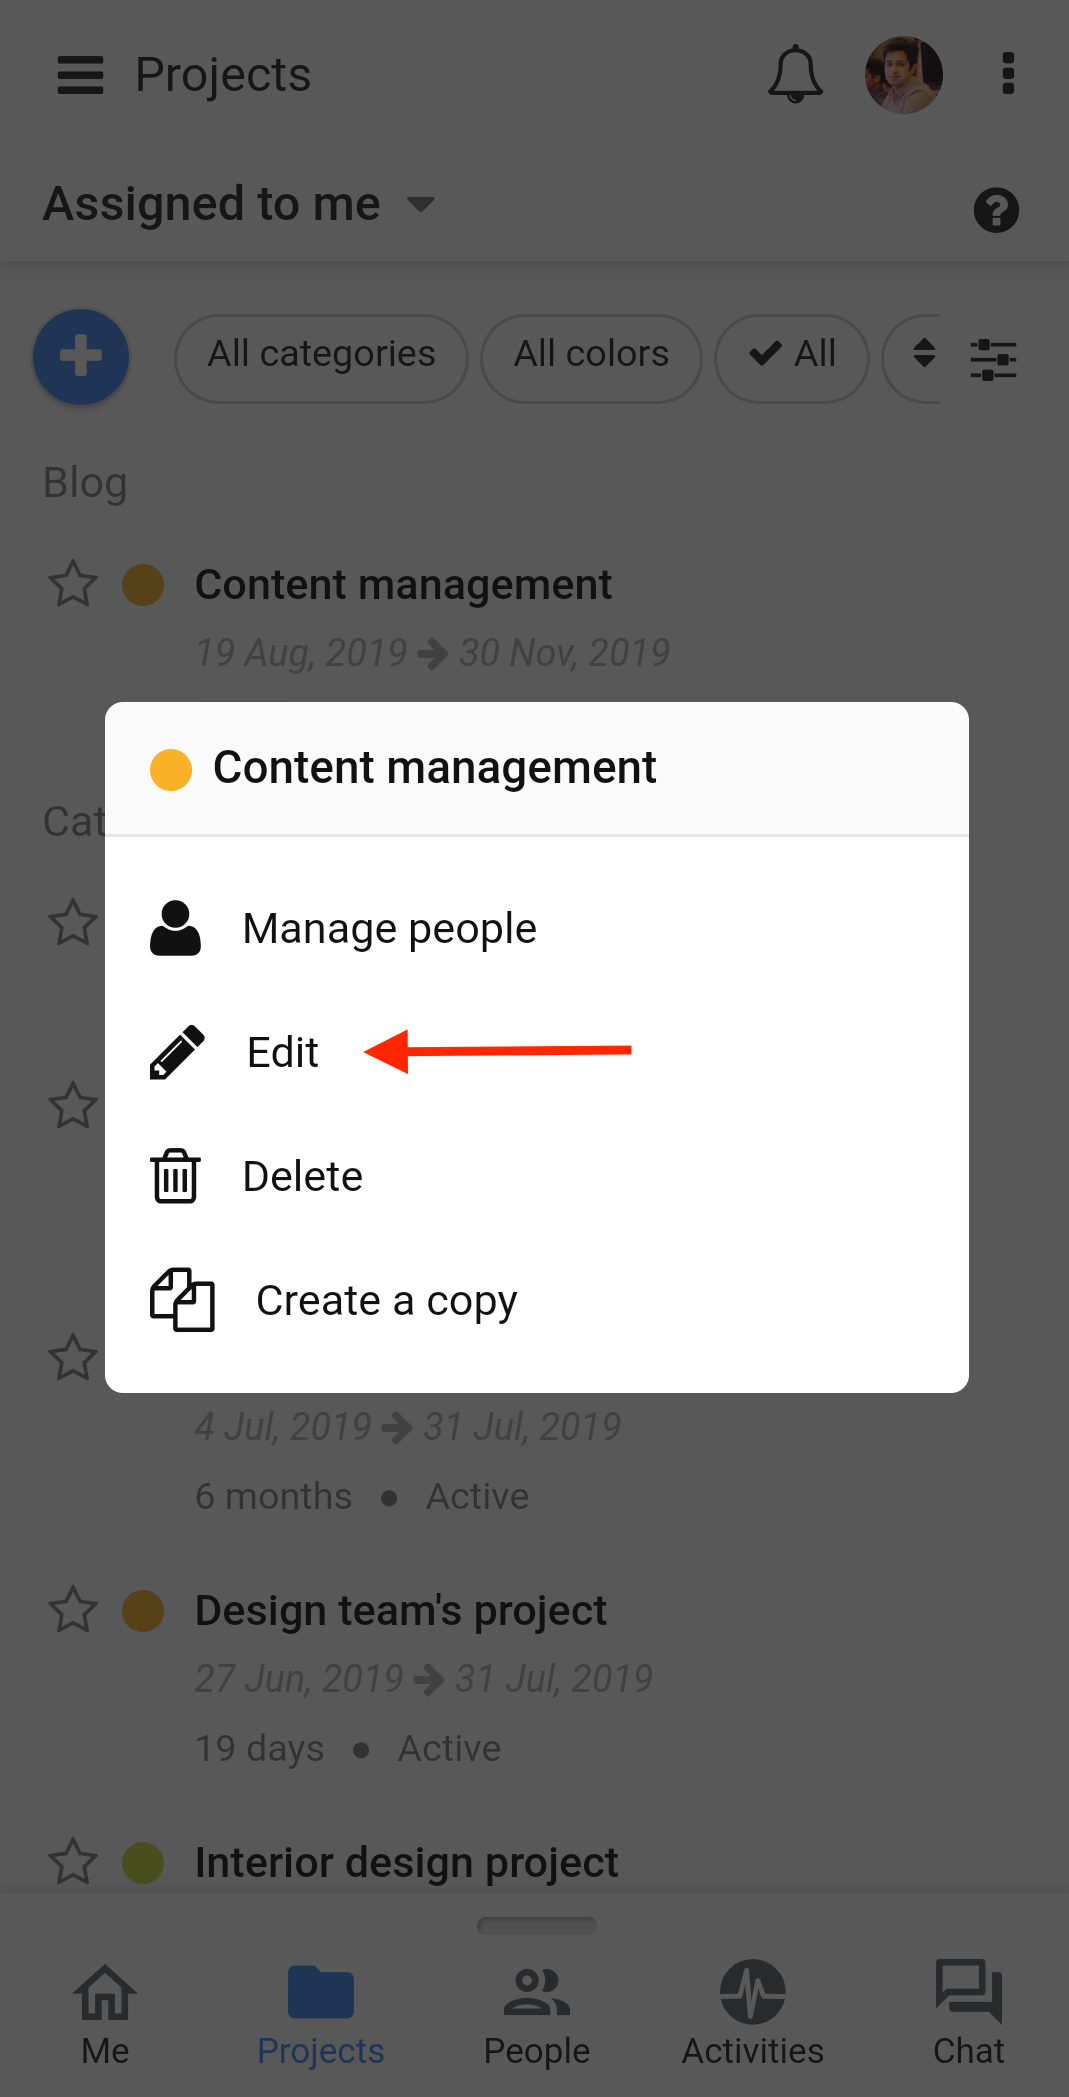
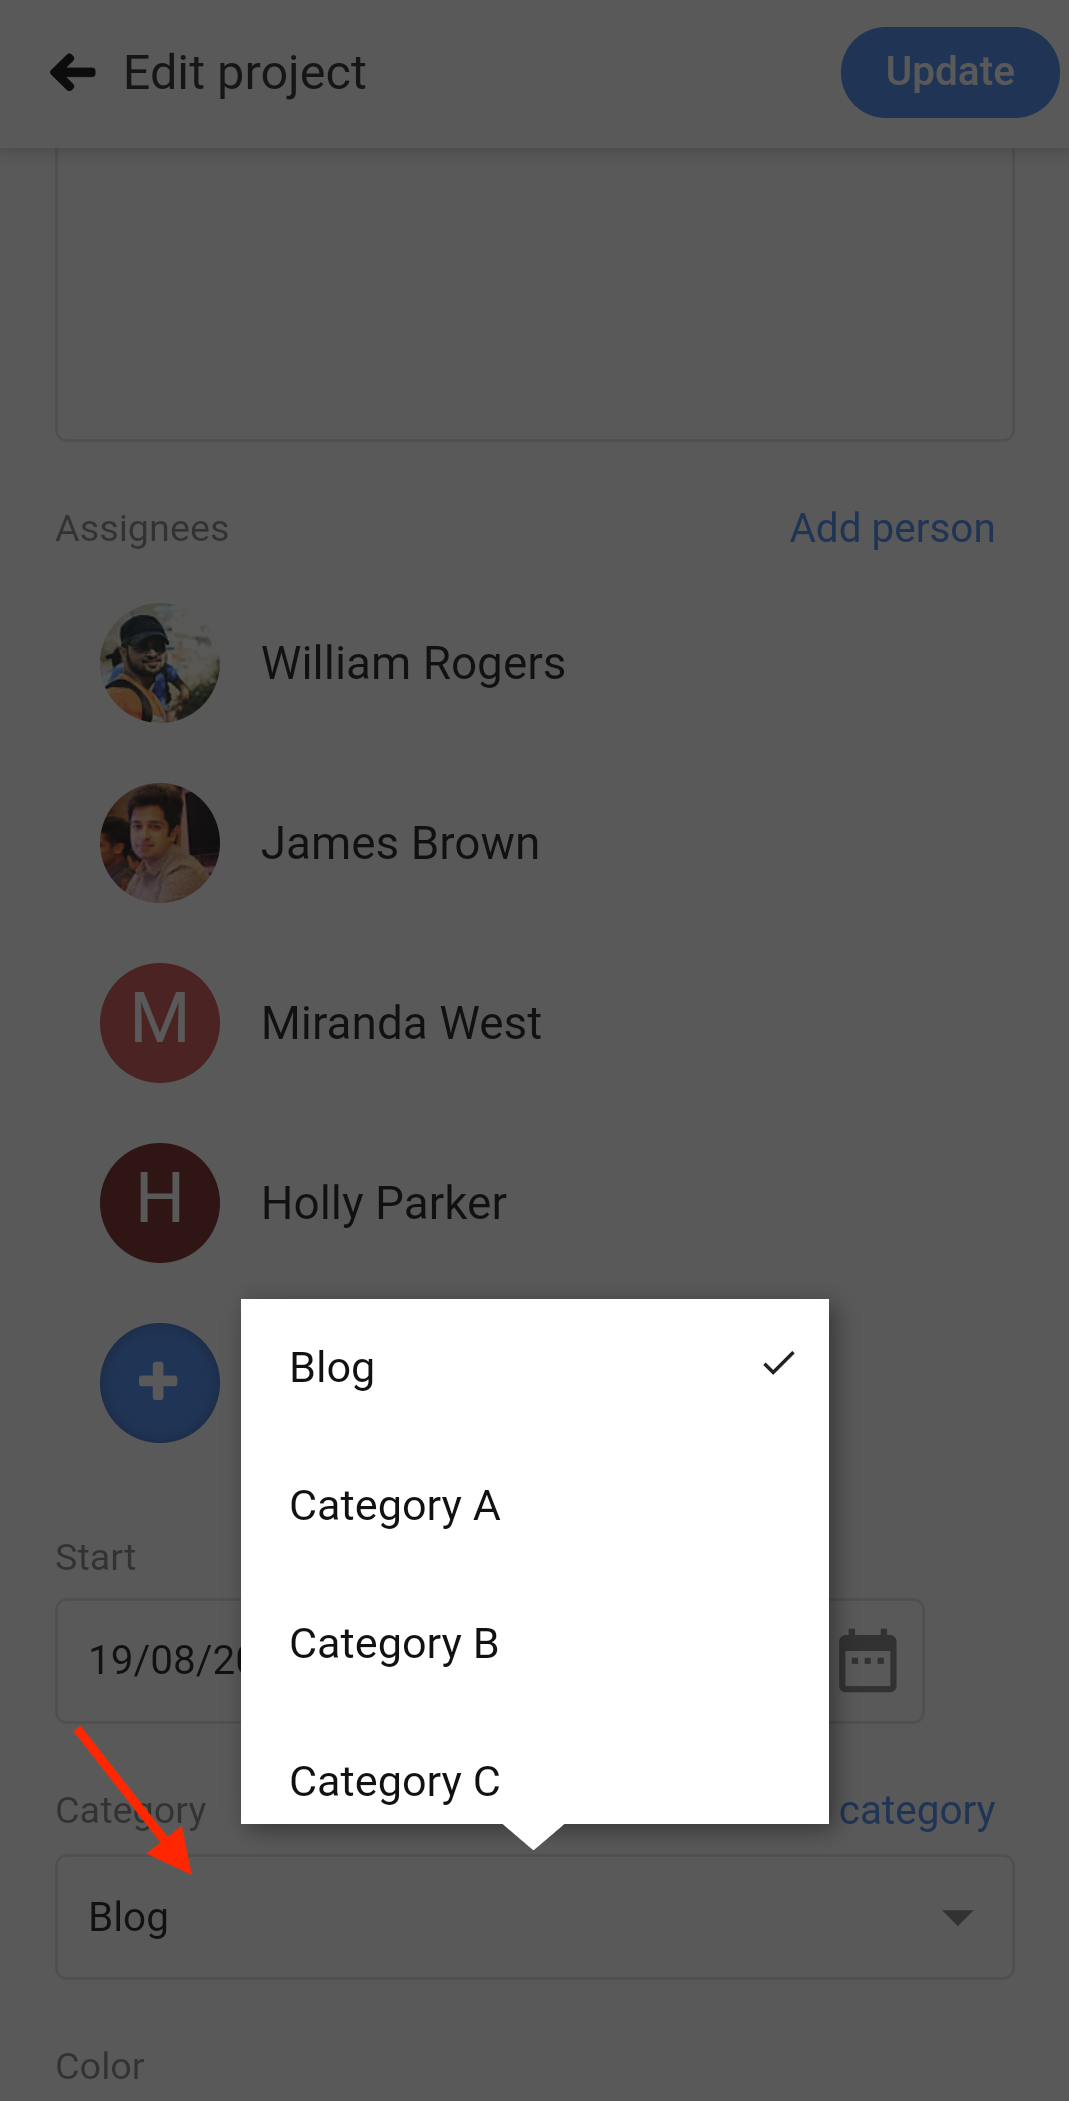
- Or else, long-press on an existing project and select Edit to change its category.
Need more help?
- Can't find the answer to your questions? Contact ProofHub Support
- Check our blog for the latest additions, updates and tips.